Best Peanut Butter Cookies: Soft and Chewy
- Time: Active 15 minutes, Passive 11 minutes, Total 26 minutes
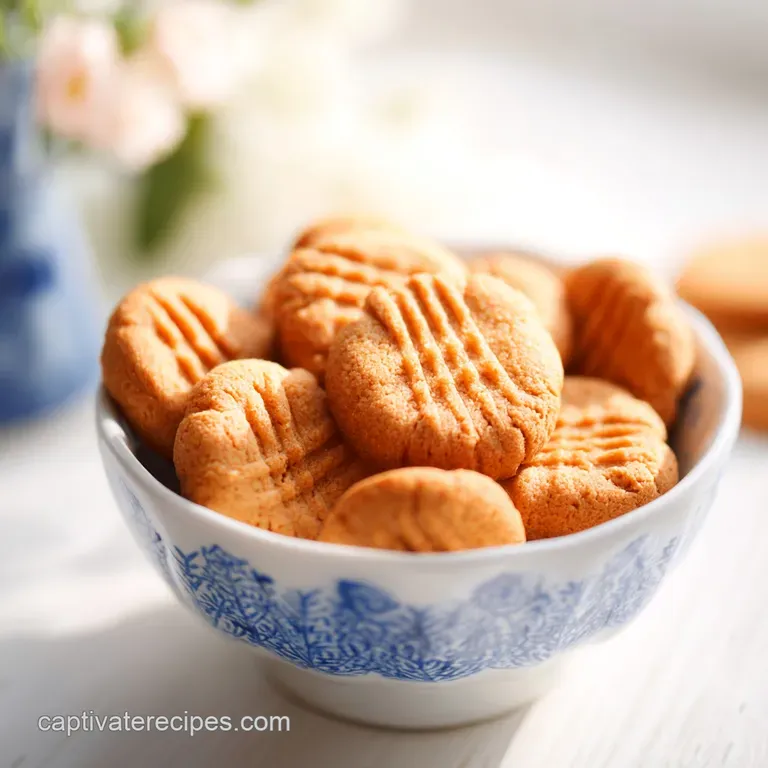
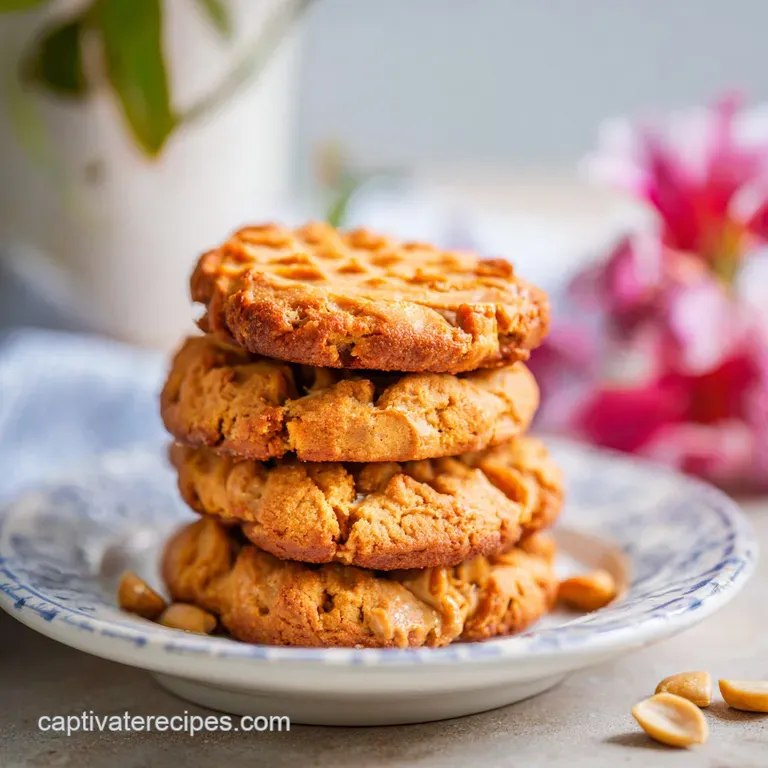
- Flavor/Texture Hook: Nutty, shatter crisp edges with a soft, melt in-your mouth interior
- Perfect for: Stress free baking, lunchbox treats, or a reliable weeknight dessert
- Baking the Absolute Best Peanut Butter Cookies
- The Science Behind Those Perfect Results
- Understanding the Key Recipe Specifications
- Gathering Everything You Will Need
- The Minimal Equipment Required For Success
- Clear Step-By-Step Instructions For Baking
- Solving Common Cookie Baking Problems
- Smart Adaptations For Every Dietary Need
- Keeping Your Cookies Fresh and Tasty
- Creative Serving Ideas For Better Enjoyment
- Recipe FAQs
- 📝 Recipe Card
Baking the Absolute Best Peanut Butter Cookies
The kitchen smells like a toasted nut factory right now, and honestly, it is the best scent in the world. There is a specific clicking sound the cooling rack makes when the hot cookies settle onto it, and that’s when I know the sugar has caramelized just enough to give us that iconic "shatter" on the first bite.
I used to think all peanut butter cookies were destined to be dry and sandy, but after a decade of trial and error, I realized the secret isn't just the peanut butter it’s how you handle the fat and the sugars together.
I remember one rainy Tuesday when I tried to use that fancy, oil on-top natural peanut butter for these. It was a disaster; the oil separated in the oven and I ended up with greasy puddles that tasted like sadness. This recipe is the result of that failure.
It’s the reliable, no nonsense version that works every single time because it respects the science of the crumb. We are looking for a cookie that holds its shape but gives way the second your teeth hit the center.
We aren't doing anything complicated here, because who has time for that? We’re focusing on a few small moves like using room temperature eggs and two types of sugar that make the difference between a "good" cookie and the one everyone asks for at the potluck.
You don't need a fancy chilled dough or overnight resting periods. We are going from cravings to a warm glass of milk in under half an hour.
The Science Behind Those Perfect Results
Understanding why these ingredients behave the way they do makes you a more confident baker. It’s not just about mixing things in a bowl; it’s about controlling how the proteins and fats interact under heat.
- The Dual Sugar Synergy: Granulated sugar provides the structure and those crispy, browned edges, while brown sugar contains molasses which hangs onto moisture for a chewy, velvety middle.
- Leavening Equilibrium: Using both baking powder and baking soda creates a double lift, ensuring the cookies rise but then settle into a dense, soft texture rather than a cakey one.
- Protein Stabilization: The eggs act as the glue, emulsifying the fats from the butter and peanut butter so the dough doesn't weep or crumble into dust.
| Thickness | Internal Temp | Rest Time | Visual Cue |
|---|---|---|---|
| 1 inch dough ball | 175°F (80°C) | 10 minutes | Edges are golden; center looks set but soft |
| 1.5 inch dough ball | 180°F (82°C) | 12 minutes | Cracks appear on top; bottom is deep brown |
| 0.5 inch (pressed flat) | 185°F (85°C) | 5 minutes | Entire cookie is crisp; uniform golden color |
Getting the temperature right is the difference between a soft bite and a tooth cracker. I usually pull mine out when the center still looks a tiny bit "underdone" because the carryover heat on the baking sheet finishes the job.
If you wait until the middle looks fully baked, you've already gone too far, and they'll be hard as rocks by the time they cool down.
Understanding the Key Recipe Specifications
When we talk about the best peanut butter cookies, we are looking for a specific ratio of fat to flour. This recipe hits the sweet spot that allows for a distinct fork print without the dough sticking to your utensils.
It’s a sturdy dough that feels a bit like playdough in your hands pliable, slightly greasy in a good way, and incredibly easy to portion out.
| Component | Science Role | Pro Secret |
|---|---|---|
| Unsalted Butter | Provides the primary fat for a tender crumb | Use softened butter, not melted, to prevent excessive spreading |
| Creamy Peanut Butter | Adds structural fat and concentrated flavor | Stick to standard brands (like Jif or Skippy) for consistent emulsion |
| All Purpose Flour | Builds the gluten framework | Measure by weight (312g) to avoid dry, heavy cookies |
| Baking Soda | Encourages browning and "spread" | Check expiration; old soda leads to flat, pale cookies |
The reason we use unsalted butter is all about control. Every brand of salted butter has a different salt concentration, and since peanut butter is already quite salty, starting with a clean slate lets us add exactly the 1/2 tsp of sea salt needed to make the flavors pop.
Gathering Everything You Will Need
I always tell my friends to lay everything out on the counter before they even turn on the oven. There is nothing worse than being elbow deep in dough only to realize you’re out of brown sugar.
This list is straightforward, but the quality of your vanilla and the temperature of your eggs will actually change the final result.
- 1 cup (225g) Unsalted Butter, softened Why this? Allows for air pockets during creaming.
- 1 cup (250g) Creamy Peanut Butter Why this? Provides the signature flavor and creamy fat base.
- 1 cup (200g) Packed Light Brown Sugar Why this? Adds moisture and a hint of caramel.
- 3/4 cup (150g) Granulated White Sugar Why this? Creates those essential crispy, golden edges.
- 2 Large Eggs, room temperature Why this? Emulsifies better into the fat for a smooth dough.
- 2 tsp Pure Vanilla Extract Why this? Rounds out the nuttiness with floral sweetness.
- 2 1/2 cups (312g) All Purpose Flour Why this? The perfect protein level for a tender bite.
- 1 tsp Baking Powder Why this? Gives the cookies a slight puff and lift.
- 1 1/2 tsp Baking Soda Why this? Helps with browning and creates the classic spread.
- 1/2 tsp Fine Sea Salt Why this? Balances the sugar and intensifies the peanut flavor.
- 3 tbsp Granulated Sugar for rolling Why this? Adds a crunch and prevents sticking to the fork.
| Original Ingredient | Substitute | Why It Works |
|---|---|---|
| Unsalted Butter | Salted Butter | Works fine; just omit the 1/2 tsp of sea salt. |
| Creamy Peanut Butter | Crunchy Peanut Butter | Adds texture. Note: May result in slightly more crumbly edges. |
| Light Brown Sugar | Dark Brown Sugar | More molasses flavor. Note: Cookies will be darker and chewier. |
If you are looking for a lower carb option or a different vibe altogether, you might want to try a 3ingredient peanut butter recipe which skips the flour entirely. But for this classic version, we are sticking to the traditional pantry staples to get that bakery style finish.
The Minimal Equipment Required For Success
You don't need a high tech kitchen for this. In fact, a simple hand mixer and a sturdy bowl are usually better than a massive stand mixer because you have more control over the speed. I've made these with just a wooden spoon and some elbow grease when I was at a vacation rental, and they turned out just fine.
- Large Mixing Bowl: For the wet base (butter, sugars, PB).
- Medium Mixing Bowl: To whisk your dry ingredients together (prevents salt clumps!).
- Hand Mixer or Stand Mixer: Essential for creaming the butter and sugar until they are pale and fluffy.
- Baking Sheets: Two large ones so you can bake in batches without overcrowding.
- Parchment Paper or Silicone Mats: Prevents sticking and ensures the bottoms don't burn too quickly.
- Measuring Cups and Spoons: Or better yet, a kitchen scale for precision.
- Wire Cooling Rack: Allows air to circulate so the bottoms stay crisp while they cool.
- A Standard Dinner Fork: For that mandatory criss cross pattern on top.
Clear step-by-step Instructions For Baking
- Preheat your oven to 180°C (350°F). Line two large baking sheets with parchment paper or silicone mats.
- In your large bowl, beat the 1 cup softened butter, 1 cup peanut butter, 1 cup brown sugar, and 3/4 cup granulated sugar. Cream for 3 full minutes until pale and velvety.Note: This air incorporation is what keeps the cookies from being lead heavy.
- Add the 2 large eggs one at a time, followed by the 2 tsp vanilla extract. Beat on medium speed until the mixture looks smooth and glossy.
- In the medium bowl, whisk together the 2 1/2 cups flour, 1 tsp baking powder, 1 1/2 tsp baking soda, and 1/2 tsp sea salt.
- Turn the mixer to low and slowly add the dry ingredients to the wet. Mix only until no white streaks remain.Note: Overmixing here will develop too much gluten, making the cookies tough.
- Scoop about 2 tablespoons of dough at a time and roll them into smooth balls.
- Place the 3 tbsp of extra sugar in a small bowl. Roll each ball in the sugar until evenly coated.
- Place the balls on the baking sheet, spaced 2 inches apart. Use a fork to press a criss cross pattern into each ball, flattening it to about 1/2 inch thick.
- Bake for 11 minutes until the edges are just golden and the tops look slightly cracked.
- Let the cookies rest on the baking sheet for 5 minutes until they are firm enough to move, then transfer to a wire rack to finish cooling.
Chef's Tip: If your kitchen is very warm and the dough feels oily, pop the bowl in the fridge for 10 minutes before rolling. This prevents the cookies from spreading into one giant pancake in the oven.
Solving Common Cookie Baking Problems
Why Cookies Turn Out Dry
If your cookies feel like eating a spoonful of sand, you likely over measured the flour. When using a measuring cup, it's easy to pack the flour down, which can add up to 25% more than the recipe intends. Always fluff the flour with a spoon and level it off, or use a scale.
Another culprit is overbaking; even 2 minutes too long can turn a soft cookie into a dry one.
Why The Dough Is Too Sticky
Sticky dough usually happens because the butter was too soft (almost melting) or the eggs were particularly large. If the dough is clinging to your hands, don't just add more flour that will ruin the texture. Instead, chill the dough for 20 minutes.
This allows the fats to firm up and the flour to fully hydrate, making it much easier to handle.
| Problem | Root Cause | Solution |
|---|---|---|
| Excessive Spreading | Butter was too warm or oven not preheated | Chill dough balls for 15 mins before baking. |
| Burnt Bottoms | Baking sheet is too dark or placed too low | Move rack to the center; use parchment paper. |
| No Fork Marks | Dough is too soft or fork is sticking | Dip the fork in granulated sugar between every press. |
Common Mistakes Checklist ✓ Ensure eggs are at room temperature to avoid curdling the butter mixture. ✓ Don't skip the "creaming" step; three minutes of beating adds necessary lift. ✓ Use a cookie scoop for uniform sizes so they all bake at the exact same rate.
✓ Never place raw dough onto a hot baking sheet from a previous batch. ✓ Double check that your baking soda hasn't expired (it's the main driver of the "spread").
Smart Adaptations For Every Dietary Need
Baking is for everyone, and this dough is actually quite forgiving when it comes to minor swaps. If you are cooking for someone with a gluten sensitivity, you can swap the all purpose flour for a 1:1 gluten-free baking blend (the kind with xantham gum already included).
The texture will be slightly grainier, but the peanut butter does a great job of masking any "alternative flour" aftertaste.
For a vegan version, you can replace the butter with a high-quality vegan butter stick (avoid the tub spreads which have too much water) and use a flax egg (1 tbsp flax meal + 3 tbsp water per egg). The cookies won't rise quite as much, but they will still be incredibly flavorful and chewy.
- If you want a crunchier cookie, bake for 13 minutes instead of 11 and use extra crunchy peanut butter.
- If you want a "bakery style" soft cookie, pull them out at 10 minutes and let them sit on the hot tray for an extra 5 minutes.
- If you want a saltier finish, sprinkle a tiny pinch of flaky Maldon salt on top immediately after they come out of the oven.
Keeping Your Cookies Fresh and Tasty
The best way to store these is in an airtight container at room temperature. They will stay soft for about 4 to 5 days. If you find they are starting to get a little firm, you can pop a single slice of white bread into the container with them; the cookies will absorb the moisture from the bread and soften right back up.
It’s an old school trick, but it works like a charm.
For long term storage, these cookies freeze beautifully. You can freeze the baked cookies for up to 3 months just thaw them at room temperature for an hour before eating. Even better, you can freeze the raw dough balls (after the fork press).
When you're ready to bake, just add 2 minutes to the total baking time. It’s the ultimate "emergency dessert" strategy.
To reheat a room temperature cookie and get that "just out of the oven" feel, microwave it for exactly 8 seconds. Any longer and the sugars will liquefy and burn your tongue, but 8 seconds makes the center velvety again.
Creative Serving Ideas For Better Enjoyment
While a tall glass of cold milk is the gold standard, there are ways to make these feel a bit more "adult." I love serving these slightly warm with a sharp, salty cheddar cheese on the side don't knock it until you try it! The contrast between the sweet nuttiness and the savory cheese is brilliant.
If you are feeling ambitious, these make the perfect base for an ice cream sandwich. Take two completely cooled cookies and sandwich a thick scoop of chocolate or banana ice cream between them. Because these cookies are sturdy, they won't shatter when you take a bite, keeping the ice cream exactly where it belongs.
If you have leftovers that have gone a bit too crunchy for your liking, crumble them up! They make a fantastic topping for a Moist Peanut Butter recipe or even just over a bowl of Greek yogurt for breakfast.
Myths about Peanut Butter Baking: 1. "Natural peanut butter is better for baking." False. The lack of stabilizers in natural PB often causes the cookies to be oily and crumbly. Standard creamy PB provides the most reliable emulsion. 2.
"You must chill the dough overnight." Not for this recipe. Because we use a high ratio of peanut butter to butter, the dough is stable enough to bake immediately after mixing. 3. "The fork marks are just for looks." Partly true, but they also serve a functional purpose.
Because this dough is dense, the fork marks flatten the ball, ensuring the heat penetrates the center evenly and the cookie bakes through without the edges burning.

Recipe FAQs
What is the #1 cookie in the US?
Chocolate Chip. While the peanut butter cookie is a strong contender, the classic chocolate chip cookie consistently ranks as the most popular and frequently baked cookie across American households.
What are the common peanut cookie mistakes?
Overmixing the flour and overbaking the cookie. Overmixing develops tough gluten strands, leading to a dense, hard cookie, while overbaking evaporates necessary moisture.
Is it better to use baking powder or baking soda in peanut butter cookies?
Use both, but baking soda is crucial for flavor and spread. Baking soda reacts with the acidic elements in brown sugar and peanut butter to provide lift and promote the necessary golden brown spread we look for.
How do I stop my peanut butter cookies from crumbling when I press them with a fork?
Chill the dough balls for 15 minutes before pressing. The chilling allows the fats to solidify, making the dough structurally sound enough to take the classic criss cross imprint without cracking apart.
What kind of peanut butter gives the best texture?
Standard, processed creamy peanut butter is best. Brands like Jif or Skippy contain stabilizers that prevent oil separation during baking, which ensures a tender, cohesive crumb.
Is it true I can substitute any fat for the butter in this recipe?
No, this is a common misconception. While you can substitute vegan butter sticks, using liquid oils like vegetable oil will cause the cookie to spread too thin and result in a greasy texture due to improper emulsification.
How do I make my peanut butter cookies chewier, like those in a bakery?
Increase the proportion of brown sugar over white sugar. Brown sugar contains molasses, which is hygroscopic, meaning it retains more moisture, leading to that desirable soft, chewy center.
Best Peanut Butter Cookies
Ingredients:
Instructions:
Nutrition Facts:
| Calories | 195 kcal |
|---|---|
| Protein | 3.6 g |
| Fat | 10.7 g |
| Carbs | 22.4 g |
| Fiber | 0.8 g |
| Sugar | 13.6 g |
| Sodium | 156 mg |
