Air Fry Chicken Wings: Crispy and Juicy
- Time: Active 10 minutes, Passive 22 minutes, Total 32 minutes
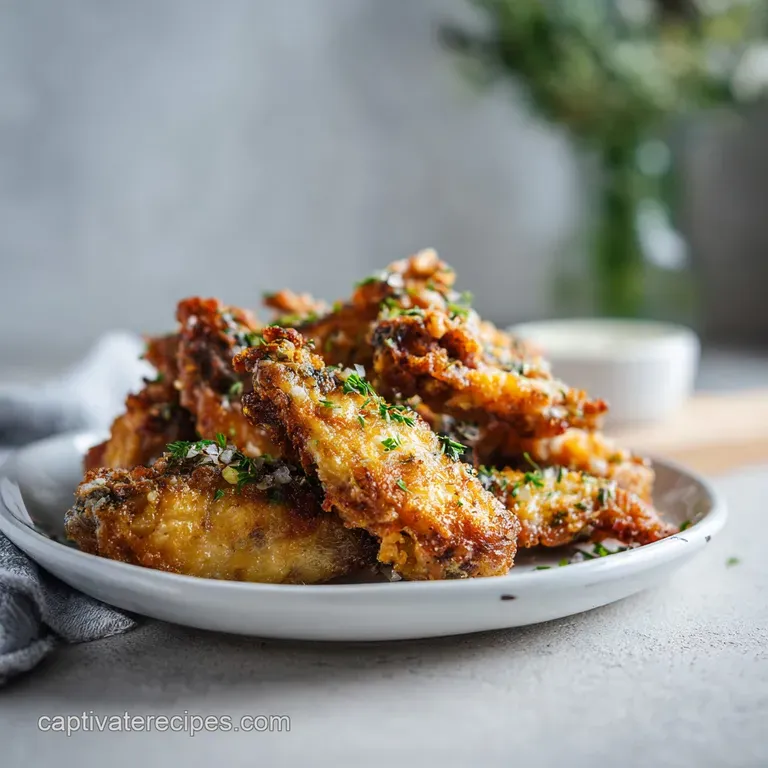
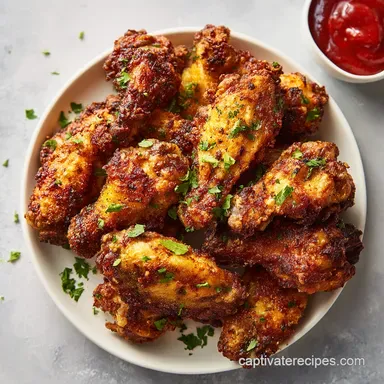
- Flavor/Texture Hook: Shatter crisp skin with a tangy, buttery glaze
- Perfect for: Game day snacks or a reliable weeknight dinner
- The Best Way to Air Fry Chicken Wings
- Essential Recipe Specs and Timing
- Quality Ingredients for Better Results
- Tools Needed for Maximum Crunch
- Simple Steps for Crispy Wings
- Fixing Common Wing Cooking Problems
- Flavor Variations for Every Occasion
- Storage Tips and Zero Waste
- Best Sides to Serve Alongside
- Very High in Sodium
- Recipe FAQs
- 📝 Recipe Card
The Best Way to Air Fry Chicken Wings
Imagine pulling your air fryer basket out and hearing that distinct, high pitched crackle as the wings settle. When you tap one with a pair of tongs, it doesn't thud; it sounds like glass. That is the gold standard we are chasing today.
I used to think that "crispy" was a word reserved only for things submerged in gallons of bubbling peanut oil, but I was wrong. It turns out, moving air and a little bit of science can do the job just as well, if not better, without the heavy cleanup.
There is something deeply satisfying about the ritual of making these. The sharp, vinegary aroma of the hot sauce hitting the warm melted butter, the way the glaze clings to the tiny ridges in the skin, and that first bite where the skin actually shatters before you reach the tender meat.
We are going for that specific texture where the skin has been completely transformed into a savory, crunchy shell.
I have made my fair share of rubbery, sad wings in the past. We have all been there, standing over a plate of "baked" wings that look pale and feel chewy. But we aren't doing that today. We are using a reliable method that focuses on moisture removal and fat rendering.
It is a straightforward process, but the details matter. If you follow these steps, you will never go back to the greasy mess of deep frying again.
Essential Recipe Specs and Timing
The Rendering Phase: Starting at a moderate 360°F (182°C) allows the fat under the skin to melt and drip away without burning the exterior too quickly.
The Texture Transformation: Baking powder increases the pH level on the skin, which breaks down peptide bonds and allows the surface to brown and crisp much more efficiently.
The Finish Line: Cranking the heat to 400°F (204°C) for the final few minutes creates those tiny, bubbly air pockets in the skin that give it that signature crunch.
| Cooking Method | Total Time | Texture Result | Cleanup Level |
|---|---|---|---|
| Air Fryer | 22 minutes | Shatter crisp | Very Easy |
| Oven Baked | 45 minutes | Leathery crisp | Moderate |
| Deep Fried | 12 minutes | Traditional | Hard/Messy |
Choosing the right method depends on how much time you have and how much you hate cleaning up oil splatters. For me, the air fryer is the clear winner because it handles the airflow much better than a standard oven, which is essential for removing the moisture that prevents crunchiness.
Quality Ingredients for Better Results
| Ingredient | Component Analysis | Pro Secret |
|---|---|---|
| Chicken Wings | The protein base and fat source | Ensure they are completely dry before any seasoning touches them. |
| Baking Powder | The chemical crisping agent | Must be aluminum free to avoid a bitter, metallic aftertaste. |
| Kosher Salt | Flavor enhancer and moisture drawer | Use coarse grains to help draw out surface moisture during the prep. |
| Hot Sauce | The acidic flavor base | Use a cayenne based sauce for that authentic Buffalo tang. |
The key to success starts before you even turn on the machine. You need to make sure your wings are separated into flats and drumettes. If you buy them whole, just use a sharp knife to find the joint and slice right through. It makes them much easier to flip and ensures they cook evenly in the basket.
Tools Needed for Maximum Crunch
For this recipe, you really only need your air fryer and a few basic kitchen items. I recommend using a basket style air fryer if you have one, as they usually have better circulation for smaller batches of wings.
If you have a toaster oven style, just make sure you use the wire rack and don't place them directly on a solid tray.
You will also need a large mixing bowl to toss the wings. Don't try to season them inside the air fryer basket; you won't get even coverage, and the baking powder will just fall through the holes. A good pair of silicone tipped tongs is also essential.
You need to flip these halfway through, and you want something that can grip the wings firmly without tearing the skin as it starts to crisp up.
Finally,, have some paper towels ready. I mean a lot of them. The secret to that shatter crisp texture is removing every molecule of surface water before you start. If the wings are wet, they will steam rather than fry, and you will end up with that rubbery texture we are trying to avoid.
Simple Steps for Crispy Wings

- Pat the 2 lbs of chicken wings completely dry with paper towels until the skin feels tacky and moisture free. Note: This is the most important step for achieving a crunch.
- In a large mixing bowl, whisk together the 1 tbsp baking powder, 1 tsp kosher salt, 1/2 tsp black pepper, and 1/2 tsp garlic powder. Toss the wings in the mixture until every wing is evenly coated and matte in appearance.
- Preheat the air fryer to 360°F (182°C). Arrange the wings in a single layer in the basket, ensuring they do not overlap. Note: Air needs to circulate around each piece to crisp the sides.
- Cook at 360°F (182°C) for 12 minutes. Flip the wings halfway through with tongs to ensure the fat renders evenly from both sides.
- Increase the temperature to 400°F (204°C) and cook for an additional 8–10 minutes until the skin is golden brown and shattered crisp.
- While the wings finish, whisk together the 4 tbsp melted unsalted butter, 1/3 cup cayenne hot sauce, and 1 tsp honey in a separate bowl.
- Remove the hot wings from the air fryer and immediately hear the sizzle as you drop them into the sauce bowl.
- Toss the wings thoroughly in the glaze until they are glossy and fully coated.
- Serve them immediately while the skin is at its peak crispness.
- Enjoy the contrast between the spicy, buttery exterior and the juicy meat inside.
Fixing Common Wing Cooking Problems
Why Your Wings Are Rubbery
This usually happens because of moisture. If the wings weren't dried properly or if the air fryer was overcrowded, the steam gets trapped. When wings are too close together, they "sweat" against each other, which prevents the skin from getting that direct hit of hot, dry air.
Always work in batches if you have a smaller machine.
Why Your Wings Have White Spots
If you see white, powdery patches on your finished wings, it is likely just unreacted baking powder. This happens if the wings weren't tossed thoroughly or if there was a clump in the mixture. It won't hurt you, but it doesn't taste great.
Next time, make sure to whisk the dry ingredients really well and give the wings a good shake in the bowl to knock off any excess.
| Problem | Root Cause | Solution |
|---|---|---|
| Soft Skin | Too much moisture | Pat dry longer and use baking powder. |
| Burnt Glaze | Saucing too early | Only toss in sauce AFTER cooking is finished. |
| Dry Meat | Overcooking | Stick to the 22 minute total time for standard wings. |
Common Mistakes Checklist
- ✓ Never use baking soda instead of baking powder; it will taste like soap.
- ✓ Don't skip the preheat; that initial blast of heat starts the fat rendering immediately.
- ✓ Avoid stacking the wings; a single layer is non negotiable for airflow.
- ✓ Use aluminum free powder to keep the flavor clean and savory.
- ✓ Let the wings sit for 5 minutes after coating if you have time; it helps the powder stick.
Flavor Variations for Every Occasion
If you aren't in the mood for Buffalo sauce, this base method works for almost any flavor profile. You can do a dry rub by adding smoked paprika, onion powder, and a little cayenne to the baking powder mixture.
This creates a "naked" crispy wing that is great for dipping into ranch or blue cheese without the messy glaze.
For a sweet and savory twist, try a Honey Garlic version. Skip the hot sauce and mix the melted butter with minced garlic, soy sauce, and extra honey. If you go this route, I like to simmer the sauce in a small pan for a few minutes first to mellow out the raw garlic flavor before tossing the wings.
Another classic is Lemon Pepper. You can find lemon pepper seasoning at most stores, but making your own with fresh lemon zest and cracked black pepper is a game changer. Just toss the hot, crispy wings in a little melted butter and then heavy handedly sprinkle the lemon pepper over them while they are still wet.
It is bright, zingy, and perfectly cuts through the richness of the chicken.
Storage Tips and Zero Waste
Leftover wings are a rare occurrence in my house, but if you do have some, they keep well in the fridge for up to 3 days. Store them in an airtight container once they have cooled completely.
Don't put them in the fridge while they are still hot, or the condensation will turn that beautiful crispy skin into a soggy mess instantly.
When it comes to reheating, the microwave is your enemy. It will make the meat rubbery and the skin limp. Instead, pop them back into the air fryer at 350°F (180°C) for about 4–5 minutes.
This will wake up the fat in the skin and bring back a good portion of that original crunch. It is the only way to do justice to the work you put in the first time.
For a zero waste tip, don't throw away the wing tips if you bought whole wings and trimmed them yourself. You can keep those tips in a freezer bag and save them for making a rich chicken stock later. They are full of collagen and flavor, making them perfect for a soup base.
Even the bones from the wings you ate can be simmered down if you're feeling particularly industrious!
Best Sides to Serve Alongside
To balance out the heat and the crunch, I always suggest something cool and refreshing. A classic celery and carrot stick platter is traditional for a reason it provides a watery, crisp contrast to the heavy wings. If you want something more substantial, this Broccoli Casserole recipe is a great way to get some greens on the table that the whole family will actually eat.
If you are looking for another easy protein to round out a party spread, my Skillet Chicken Thighs offer a different kind of crispy skin that works well alongside wings. I find that having a variety of textures makes a meal feel much more complete.
Chef's Tip: If you want an even deeper flavor, let the coated wings sit uncovered in the fridge for 30 minutes before air frying. This "air dries" the skin even further, leading to a crunch that is almost architectural in its strength.
Baking Powder and Skin Texture
The science here is actually pretty cool. The baking powder raises the pH of the chicken skin. This allows the proteins to break down more effectively, creating a surface that browns faster and develops those tiny micro bubbles.
Those bubbles are what we perceive as "extra crispy" because they increase the surface area that hits your tongue.
Dual Temperature Cooking Benefits
Starting low and ending high is a trick borrowed from professional kitchens. The 360°F (182°C) phase is all about the fat. Chicken wings have a lot of subcutaneous fat.
If you blast them with high heat immediately, the skin browns before the fat has a chance to melt away, leaving you with a greasy interior. By rendering first, you clear the way for the 400°F (204°C) finish to turn that thin, lean skin into a cracker like shell.
Decision Shortcut
- If you want maximum crunch, use the baking powder and ensure the wings are bone dry.
- If you want a healthier version, you can skip the butter in the sauce and use a bit of lime juice to thin out the hot sauce instead.
- If you are cooking for a crowd, do the first 12 minute render for all batches first, then do the final 400°F crisping right before serving so they are all hot at once.
Air Fry Chicken Wings from Frozen
Can you do it? Yes, but you lose the baking powder advantage. To air fry from frozen, you’ll need to run them at 360°F (182°C) for about 10 minutes just to defrost and shake them loose.
Then, you have to carefully drain any liquid from the bottom of the basket, pat them dry (carefully!), and proceed with the seasoning and cooking steps. It’s more work, but it beats waiting two hours for them to thaw on the counter.
The Truth About Searing
Some people think you need to sear wings in a pan before air frying to "lock in juices." This is a myth. Searing is about flavor development, not moisture retention. In an air fryer, the goal is to remove moisture from the skin to get it crispy.
The high speed fan does a much better job of this than a flat pan ever could. Trust the machine to do its job!

Very High in Sodium
1545 mg 1545 mg of sodium per serving (67% 67% of daily value)
The American Heart Association recommends limiting sodium intake to no more than 2,300mg per day, ideally to less than 1,500mg for most adults.
Tips to Reduce Sodium
-
Eliminate Added Salt-25%
The 1 tsp Kosher salt is a direct source of sodium. Removing it will significantly reduce sodium without impacting flavor negatively, as other ingredients provide taste.
-
Choose Low-Sodium Hot Sauce-20%
The 1/3 cup Cayenne pepper hot sauce is a major contributor. Opt for a low-sodium or sodium free version to drastically cut down on sodium content.
-
Boost Flavor with Herbs and Spices
While not directly reducing sodium in this recipe, experiment with adding fresh or dried herbs like rosemary, thyme, or paprika to enhance flavor without relying on salt.
-
Use Unsalted Butter
Ensure you are using unsalted butter. If your butter is salted, you'll need to adjust accordingly, but the recipe already specifies unsalted.
Recipe FAQs
How long do you cook chicken wings in the air fryer?
Cook for a total of 22 minutes. Start at 360°F for 12 minutes to render the fat, then increase the heat to 400°F for an additional 8 10 minutes to achieve a shattered crisp finish.
How to ensure the chicken skin gets extra crispy?
Pat the wings completely dry with paper towels before seasoning. Removing surface moisture is essential for the baking powder to interact with the skin, which mimics the flavor development technique used in searing meats to create a deep, savory crust.
Is it necessary to use baking soda to get the wings crispy?
No, this is a common misconception. You must use aluminum free baking powder instead, as baking soda will give the wings an unpleasant, soapy metallic taste.
How to prevent the wings from becoming soggy during storage?
Cool the wings completely before placing them in an airtight container. Sealing them while warm creates condensation that ruins the crispy texture you worked hard to achieve.
How to reheat leftover wings without losing the crunch?
Reheat them in the air fryer at 350°F for 4 5 minutes. Avoid the microwave entirely, as it will make the meat rubbery and the skin limp.
Is it okay to stack wings in the air fryer basket to save time?
No, you must arrange them in a single layer. Proper airflow is non-negotiable for rendering fat; stacking the wings will result in steamed, soggy skin rather than a crispy texture.
How to keep the seasoning from falling off the wings?
Let the coated wings sit for 5 minutes before cooking. This resting period allows the baking powder, salt, pepper, and garlic powder to adhere properly to the surface of the meat.
Crispy Air Fry Chicken Wings
Ingredients:
Instructions:
Nutrition Facts:
| Calories | 488 kcal |
|---|---|
| Protein | 39.4 g |
| Fat | 34.8 g |
| Carbs | 2.6 g |
| Fiber | 0.1 g |
| Sugar | 1.8 g |
| Sodium | 1545 mg |
