Easy Fudge Recipe: Silky Homemade Chocolate
- Time: Active 10 minutes, Passive 3 hours, Total 3 hours 10 mins
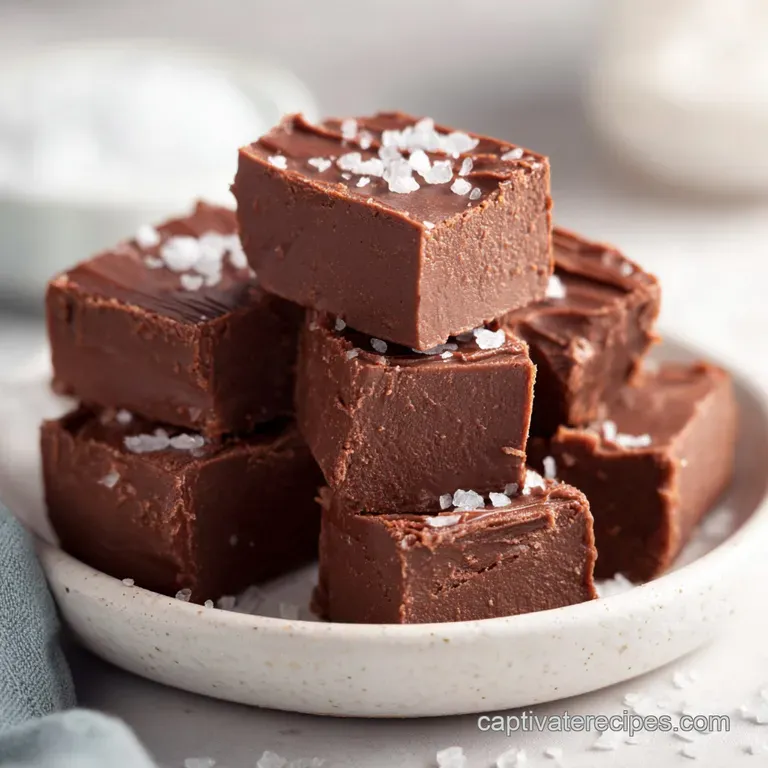
- Flavor/Texture Hook: Silky, melt in-the mouth chocolate with a supple, velvety finish
- Perfect for: Holiday gifting, last minute dessert platters, or beginner candy makers
- Mastering a Simple and Velvety Easy Fudge Recipe
- Understanding the Mechanics of the Set
- Essential Components for Velvety Texture
- Necessary Kitchen Tools and Prep
- Step-by-Step Execution Guide
- Ensuring Structural Integrity
- Adjusting for Yield and Crowds
- Debunking Traditional Methods
- Storage and Sustainable Practices
- Finishing and Presentation Ideas
- Recipe FAQs
- 📝 Recipe Card
Mastering a Simple and Velvety Easy Fudge Recipe
The scent of melting chocolate always takes me back to my grandmother’s cramped kitchen, where she’d hover over a copper pot with a temperamental thermometer. I remember the high stakes, the frantic stirring, and the inevitable "grainy" batch that ended up in the trash.
It was a stressful way to make a treat, and honestly, I nearly gave up on homemade candy altogether until I discovered the magic of this specific ratio.
Now, when I pull a tray of this easy fudge recipe out of the fridge, there is no panic, just that beautiful, matte sheen of perfectly set chocolate. The first bite has that iconic "give" not a hard snap, but a supple, dense sink of the teeth that feels incredibly indulgent.
We've all had that fudge that's basically a sugar cube in disguise, but this version relies on a smooth fat to sugar balance that feels like something from a high end boutique.
You don't need a degree in pastry arts to nail this. It's about respecting the chocolate and letting the ingredients do the heavy lifting. I've made every mistake in the book, from overheating the milk to choosing the wrong bowl, so I've polished this method down to the absolute essentials.
Let's get into what actually works so you can stop worrying about "soft ball stages" and start enjoying the results.
Understanding the Mechanics of the Set
- Emulsification Stability: The proteins in the sweetened condensed milk act as a buffer, preventing the sugar from recrystallizing into a gritty mess.
- Lipid Smoothing: Adding unsalted butter introduces a different melting point than cocoa butter, creating a more "forgiving" texture that stays soft at room temperature.
- Hygroscopic Control: Salt and vanilla don't just add flavor, they manage the moisture levels within the chocolate lattice to ensure it doesn't dry out.
- Thermal Momentum: Using semi sweet chips provides a specific ratio of cocoa solids to sugar that ensures a firm, sliceable structure once cooled.
| Method | Time | Texture | Best For |
|---|---|---|---|
| Stovetop | 5 minutes | Ultra glossy and homogenous | Maximum control and large batches |
| Microwave | 2 minutes | Slightly matte and dense | Quick fixes and small portions |
| Double Boiler | 8 minutes | Very smooth and delicate | Avoiding any risk of scorched milk |
Choosing your method depends on your comfort level with heat. While the microwave is fast, I find the stovetop gives me a better look at the texture as it changes. If you are also planning a full spread, these bite sized treats go surprisingly well after a savory meal like my Chicken Fritters Recipe.
Essential Components for Velvety Texture
| Ingredient | Science Role | Pro Secret |
|---|---|---|
| Semi sweet Chips | Provides structural cocoa butter | Use chips with at least 50% cacao for a deeper, less cloying profile. |
| Condensed Milk | Supplies sugar and prevents crystals | Never boil this alone, it can caramelize too quickly and ruin the color. |
| Unsalted Butter | Lowers the "snap" temperature | Use European style butter for a higher fat content and richer mouthfeel. |
The foundation of any easy homemade fudge is the quality of your chocolate. Since we aren't adding much else, the chips you choose will dictate the final flavor. I usually reach for a bag of high-quality semi sweet chips because they have just enough bitterness to balance the intense sweetness of the milk.
Necessary Kitchen Tools and Prep
Before you even touch the stove, you need to have your 8x8 inch square pan ready to go. I’ve tried doing this on the fly, and trust me, trying to line a pan with parchment paper while your chocolate is thickening into a brick is a recipe for disaster.
Use a little bit of butter or non stick spray to "glue" the parchment to the pan, making sure there are overhangs on the sides so you can lift the whole block out later.
A heavy bottomed saucepan is your best friend here. Thin pans have hot spots that will scorch the condensed milk before the chocolate even thinks about melting. You’ll also want a sturdy silicone spatula.
Wooden spoons are fine, but they can hold onto moisture or old spice flavors from last night's dinner, which is the last thing you want in your chocolate.
step-by-step Execution Guide
- Prep the vessel. Line an 8x8 inch pan with parchment paper, leaving a 2 inch overhang on two sides. Note: This ensures you can lift the fudge out cleanly without it crumbling.
- Combine the base. Pour 14 oz sweetened condensed milk, 18 oz semi sweet chocolate chips, and 2 tbsp unsalted butter into your saucepan.
- Apply gentle heat. Set the burner to low and stir constantly with a spatula until the chips are 90% melted and glossy.
- Remove from heat. Take the pan off the burner while a few small lumps remain. Note: Residual heat will finish the melting process without risking a burnt taste.
- Incorporate aromatics. Stir in 1 tsp pure vanilla extract and 0.25 tsp fine sea salt until the mixture is completely smooth and velvety.
- Transfer the mix. Pour the warm fudge into your prepared pan, spreading it to the corners with your spatula.
- Smooth the surface. Gently tap the pan on the counter three times until the top is level and air bubbles pop.
- The cold cure. Place the pan in the refrigerator for at least 3 hours until the center feels firm to a light touch.
- Slice and serve. Lift the block out using the parchment "handles" and cut into 36 even squares using a sharp, warm knife.
Chef's Tip: To get those clean, professional edges, dip your knife in hot water and wipe it dry between every single cut. The heat slices through the cold fat like a hot wire through wax.
| Original Ingredient | Substitute | Why It Works |
|---|---|---|
| Semi sweet Chips (18 oz) | Dark Chocolate (60%+, 18 oz) | Less sugar, more intense cocoa flavor. Note: Fudge will be slightly firmer. |
| Unsalted Butter (2 tbsp) | Refined Coconut Oil (2 tbsp) | Provides a similar fat profile. Note: Adds a very subtle tropical note. |
| Vanilla Extract (1 tsp) | Espresso Powder (1 tsp) | Deepens the chocolate notes. Note: Dissolve powder in a drop of water first. |
If you find yourself enjoying the process of making these chilled treats, you might also want to try something with a different fruit profile, like this Mango Cake Recipe, which offers a completely different but equally refreshing dessert experience.
Ensuring Structural Integrity
To Prevent a Grainy Texture
The biggest culprit for gritty fudge is overheating or using cheap chocolate with too much filler. If you notice the mixture looking "separated" or oily while stirring, it's likely too hot.
Immediately move the pan to a cool surface and add a teaspoon of room temperature condensed milk, stirring vigorously to re emulsify the fats.
For Fudge That Isnt Too Soft
If your fudge feels like chocolate ganache rather than a solid block, it usually means the ratio of liquid to solid was off. Did you use "Evaporated Milk" instead of "Sweetened Condensed Milk"? They are not the same thing. Condensed milk has a massive amount of sugar which is vital for the structure.
If it's already set and too soft, you can try keeping it in the freezer, but next time, ensure you are using the correct 14 oz can.
To Avoid a Rubber Texture
Over stirring once the mixture has cooled slightly can develop a "chewy" or rubbery feel. Once you take the pan off the heat and add your vanilla, work quickly to get it into the pan. The more you mess with it as it begins to drop in temperature, the more you disrupt the setting of the cocoa butter.
| Problem | Root Cause | Solution |
|---|---|---|
| Seized Chocolate | Water or steam hit the mix | Add 1 tsp of warm milk and stir rapidly to smooth it out. |
| Oily Surface | Heat was too high | Blot with a paper towel and chill immediately to reset the fats. |
| Fudge is Crumbly | Too many solids/overcooked | Warm it up slightly with a splash of milk to re moisten. |
✓ Always use a dry spatula; even a drop of water can seize the chocolate. ✓ Don't skip the salt; it balances the sugar so the fudge isn't "one note." ✓ Use a metal pan if possible, as it conducts the cold faster for a better set.
✓ Let the fudge sit at room temperature for 10 minutes before slicing to prevent cracking. ✓ Store with parchment paper between layers to prevent sticking.
Adjusting for Yield and Crowds
Scaling this easy fudge recipe is relatively straightforward because the ratios are so stable. If you want to cut the recipe in half, use a smaller loaf pan to keep the thickness the same. For a half batch, reduce the vanilla slightly but keep the salt at a pinch.
Be careful with the cooking time, as a smaller amount of chocolate will melt much faster and is more prone to scorching.
If you are doubling the recipe for Christmas fudge recipes, use a 9x13 inch pan. Don't simply double the stovetop time; focus on the visual cues instead. It will take longer to get that big mass of chips to melt, so be patient with the low heat.
When doubling, I usually only increase the salt and vanilla by 1.5 times rather than a full double, as those flavors can become overwhelming in larger volumes.
Debunking Traditional Methods
One common myth is that you must boil fudge to a specific temperature for it to be "real" fudge. While that's true for old-fashioned crystalline fudge, this modern version relies on the pre stabilized structure of condensed milk. You aren't "cooking" the sugar; you are simply creating a uniform melt.
Another misconception is that you need expensive chocolate bars. While high end chocolate is nice, standard semi sweet chips are formulated with stabilizers that actually help this specific recipe set more reliably than some luxury bars.
Storage and Sustainable Practices
Keep your fudge in an airtight container in the refrigerator for up to 3 weeks. If you leave it on the counter, it will soften significantly, which some people prefer, but for those clean square edges, cold is better. You can also freeze this fudge for up to 3 months.
Wrap the entire block tightly in plastic wrap, then a layer of foil. Thaw it slowly in the fridge overnight to avoid "sweating" on the surface of the chocolate.
For zero waste, don't throw away those uneven "end pieces" from when you trimmed the block. I like to chop those up and store them in a jar in the freezer. They make an incredible topping for vanilla ice cream or can be stirred into a batch of brownies for a "double chocolate" surprise.
If you have leftover condensed milk (though this recipe uses a full can), it’s the perfect sweetener for a strong iced coffee to pair with your treats.
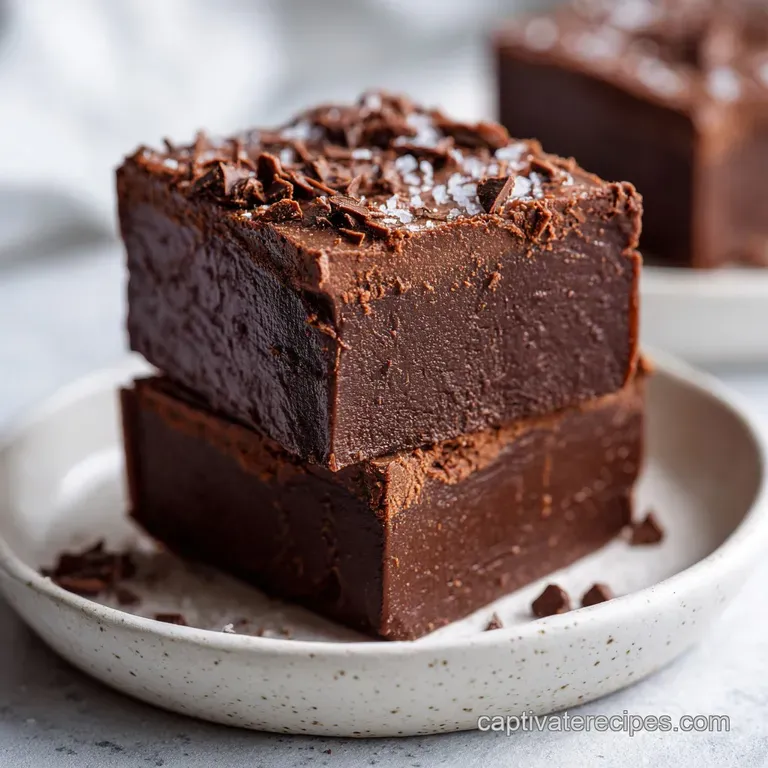
Finishing and Presentation Ideas
For Festive Christmas Fudge Recipes
If you’re making this for the holidays, a sprinkle of crushed peppermint or a few dried cranberries on top before the fudge sets makes it look instantly professional. I’ve even seen people do a "swirl" by melting a handful of white chocolate chips and dragging a toothpick through the top layer.
It’s a low effort way to make an easy fudge recipe look like it came from a high end candy shop.
The Ultimate Gifting Duo
Fudge is the ultimate "thank you" gift. I usually put 4 or 6 squares into a small parchment lined box and tie it with a simple twine. If you want to go all out, pair it with a savory snack. There's something about the salt sweet combo that people just can't resist.
It's reliable, it's classic, and most importantly, it's a recipe that actually works without the stress.
Quick Fixes for Common Issues
| Problem | Cause | Fix |
|---|---|---|
| Dull Finish | Overheated | Add 1/2 tsp of butter and stir gently while warm. |
| Sticky Slices | Not chilled long enough | Return to the fridge for another 2 hours. |
| Vanilla isn't showing | Added too early | Add vanilla only AFTER removing from heat. |
If you want a deeper chocolate flavor, use 70% dark chips. If you want a "lighter" fudge, swap 6 oz of the dark chips for milk chocolate. If you want a crunch, fold in 1/2 cup of toasted walnuts just before pouring into the pan.
Trust me on the salt, though it's the one thing that turns "homemade candy" into "gourmet fudge." Keep it simple, keep the heat low, and you'll never have to toss a grainy batch again.

Recipe FAQs
How to make really easy fudge?
Melt chocolate, condensed milk, and butter gently on low heat, stirring constantly until smooth. Remove from heat immediately before pouring into a parchment lined pan to set in the refrigerator for at least three hours.
What are the three main ingredients in easy fudge?
Chocolate chips, sweetened condensed milk, and unsalted butter. These three components form the necessary fat, sugar, and structural base for a stable, no-fail fudge emulsion.
What is the secret to making good, non-gritty fudge?
Never boil the mixture, and remove it from the heat while the chocolate is still slightly lumpy. The residual heat gently melts the final pieces, preventing sugar crystallization that causes grittiness, a principle similar to achieving the perfect texture in a Chia Seeds in recipe.
What is millionaire fudge?
Millionaire fudge typically includes three distinct layers: shortbread, caramel, and chocolate topping. This easy recipe focuses solely on the chocolate layer, but the caramel step is where you’d introduce the chewy element found in our Chicken Fritters Recipe.
Is it true I must use a candy thermometer for this easy fudge recipe?
No, this specific recipe is designed to skip the thermometer entirely. The sweetened condensed milk stabilizes the sugar, meaning you only need to heat until fully melted and glossy, relying on visual cues instead of precise temperature reading.
How long does easy fudge need to chill before slicing?
Chill for a minimum of three hours in the refrigerator until the center is completely firm. For the cleanest cuts that resemble professional squares, let the fudge sit at room temperature for about 10 minutes just before slicing.
Can I substitute evaporated milk for condensed milk in this fudge?
No, absolutely do not substitute evaporated milk for sweetened condensed milk. Evaporated milk lacks the high sugar content required to stabilize the fudge structure, resulting in a soft, runny mess that will not set properly.
Simple Homemade Fudge Recipe
Ingredients:
Instructions:
Nutrition Facts:
| Calories | 109 kcal |
|---|---|
| Protein | 1.4 g |
| Fat | 5.8 g |
| Carbs | 14.5 g |
| Fiber | 0.9 g |
| Sugar | 13.4 g |
| Sodium | 16.1 mg |
