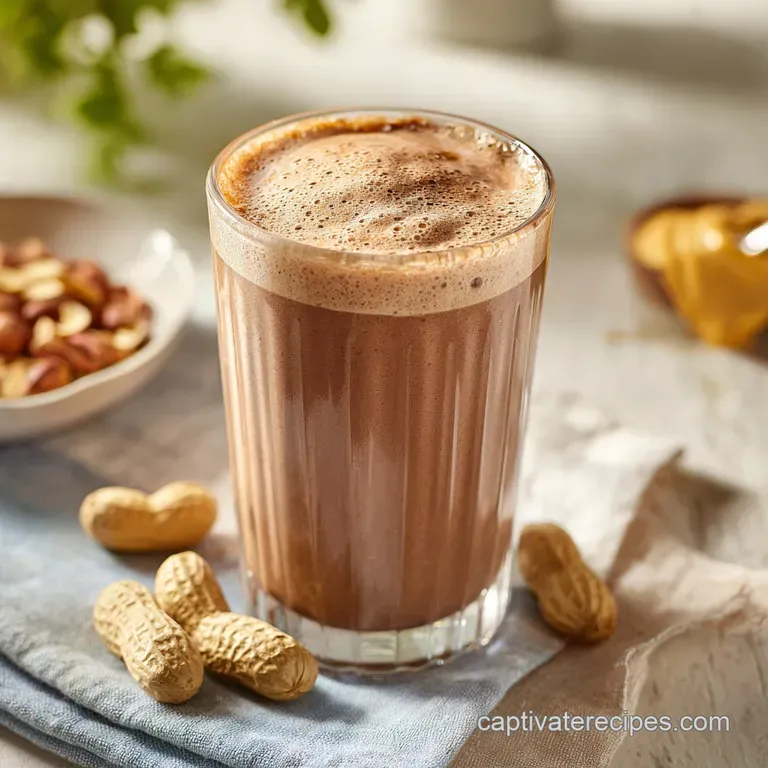
Chocolate Peanut Butter Protein Shake
- Time: Active 5 minutes, Passive 0 minutes, Total 5 minutes
- Flavor/Texture Hook: Velvety chocolate peanut butter fusion with a frosty, thick finish.
- Perfect for: Rapid post workout recovery or a budget-friendly meal replacement.
- Why Blending Order Changes Everything
- Determining Your Ideal Serving Size
- Component Analysis for Rich Flavor
- Essential Ingredients and Smart Subs
- Necessary Tools for Smooth Results
- Step-by-Step Blending and Texture Guide
- Correcting Common Texture and Flavor
- Creative Flavor and Diet Variations
- Effective Scaling for Larger Groups
- Storage Methods and Minimal Waste
- Debunking Common Blender Beverage Myths
- Serving Suggestions and Topping Ideas
- Recipe FAQs
- 📝 Recipe Card
Why Blending Order Changes Everything
Hydrophobic Shielding: Protein powder is naturally resistant to moisture; adding it after the liquid ensures the blades pull the powder into a vortex rather than sticking it to the dry walls.
Thermal Inertia: Frozen ingredients added last act as a hammer for the blades, crushing the ice while keeping the motor heat from warming up the milk base.
Fat Integration: Peanut butter acts as a natural emulsifier, binding the water based almond milk and the air bubbles for a denser, more velvety foam.
Mineral Enhancement: A single pinch of salt suppresses the bitterness of cheap cocoa and highlights the natural sweetness of the frozen banana.
Determining Your Ideal Serving Size
| Servings | Ingredient Adjustments | Pan/Jar Size | Blend Time |
|---|---|---|---|
| 1 Person | 240ml milk, 1 scoop powder | 500ml Jar | 45 seconds |
| 2 People | 480ml milk, 2 scoops powder | 1L Jar | 60 seconds |
| 4 People | 960ml milk, 4 scoops powder | 2L Blender | 90 seconds |
Scaling a liquid recipe is significantly easier than baking, but you have to be careful with the frozen elements. If you double the recipe, don't just double the ice, or you'll risk "cavitating" the blender, where the blades spin in an air pocket because the contents are too solid to move.
Component Analysis for Rich Flavor
| Component | Science Role | Pro Secret |
|---|---|---|
| Almond Milk | Liquid Base | Use unsweetened to control the glycemic response and keep the budget low. |
| Whey Protein | Structural Protein | Dutch process cocoa in the powder provides the base chocolate notes and thickens the liquid. |
| Frozen Banana | Viscosity Agent | Freeze them when they are over ripe (spotted) to maximize natural sugars and save on sweeteners. |
| Sea Salt | Flavor Contrast | Salt breaks the surface tension and makes the chocolate "pop" without adding calories. |
When it comes to picking your base, don't feel pressured to buy the most expensive "barista" editions of nut milks. A standard, budget friendly unsweetened almond milk provides the necessary 240ml of volume without distracting from the peanut butter.
Essential Ingredients and Smart Subs
- 1 cup (240ml) Unsweetened Almond Milk: The neutral base. Why this? Low calorie, high volume, and doesn't compete with the chocolate flavor.
- 1/4 cup (60ml) Cold Filtered Water: Thins the shake just enough to make it drinkable. Why this? Ensures the blender doesn't struggle with the frozen banana.
- 1 scoop (30g) Chocolate Whey or Plant Based Protein: The main fuel source. Why this? Provides 31g of protein and the primary flavor profile.
- 1 tbsp (16g) All Natural Creamy Peanut Butter: Healthy fats and flavor. Why this? The salt and fat create a more "finished" dessert taste.
- 1 tsp (5g) Unsweetened Dutch Process Cocoa Powder: Extra richness. Why this? Darkens the color and intensifies the cocoa without extra sugar.
- 1 pinch Sea Salt: The secret weapon. Why this? Essential for balancing the sweetness of the banana.
- 1/2 medium frozen banana, sliced: The texture king. Why this? Creates a "frosty" texture better than ice alone.
- 1/2 cup ice cubes: Cooling agent. Why this? Adds bulk and ensures the drink is bone chillingly cold.
| Original Ingredient | Substitute | Why It Works |
|---|---|---|
| Almond Milk | Whole Milk | Increases protein and fat; result is much creamier but higher in calories. |
| Peanut Butter | Almond Butter | Provides a more neutral, nutty flavor. Note: Slightly more expensive. |
| Frozen Banana | 1/4 cup Greek Yogurt | Adds tang and protein. Note: Less sweet, so you may need stevia. |
If you find yourself out of bananas, don't panic. You can use frozen cauliflower rice honestly! It adds the same bulk and frozen texture without any vegetable flavor once the cocoa hits it. It's a classic budget saving trick when fruit prices spike.
Necessary Tools for Smooth Results
You don't need a four hundred dollar blender to make this, but you do need a motor that can handle ice. If you're using a budget "bullet" style blender, make sure you pulse the ingredients first to break up the frozen banana coins.
Chef Tip: If your blender is struggling, let the frozen banana sit in the milk for 60 seconds before you hit the button. This softens the edges just enough for the blades to catch.
I personally use a high speed blender for the "ribbon" effect, but a standard countertop model works if you follow the layering steps strictly. Never put the powder in first; it will cement itself to the bottom corners of the jar, and you'll be scraping it out with a spoon later.
step-by-step Blending and Texture Guide
- Pour the 240ml unsweetened almond milk and 60ml cold filtered water into the blender jar first. Note: Liquid at the bottom creates the vortex needed to pull down solids.
- Add the 30g chocolate protein powder directly into the center of the liquid.
- Spoon in the 16g of creamy peanut butter, aiming for the middle so it doesn't stick to the glass.
- Dust the 5g of Dutch process cocoa powder and the pinch of sea salt over the protein.
- Drop in the 1/2 frozen banana coins. Note: Slicing them before freezing helps the blender process them faster.
- Add the 1/2 cup of ice cubes last to weigh down the other ingredients.
- Secure the lid and start the blender on its lowest speed setting. Wait until the ice starts to shatter before increasing the power.
- Gradually ramp up to high speed and blend for 45 seconds until the sound of the motor becomes a consistent, smooth hum.
- Stop the blender when the mixture looks velvety and forms a slight "four point" swirl at the top.
- Pour immediately into a chilled glass to maintain the frosty emulsion.
Correcting Common Texture and Flavor
Dealing with Gritty Protein
If your shake feels like sand, it’s usually because the protein powder hasn't fully hydrated. This happens more often with plant based powders (pea or rice) than whey. To fix this, blend the liquid and powder first for 10 seconds before adding your frozen items.
This forces the proteins to bond with the water molecules before the cold temperature makes everything more viscous.
Managing a Thin Consistency
A watery shake is heartbreaking. This usually happens if you use a room temperature banana or too much water. If it’s too thin, add another 1/4 cup of ice or a tablespoon of chia seeds and blend again. The seeds will absorb excess moisture and thicken the "body" of the drink in about 30 seconds.
| Problem | Root Cause | Solution |
|---|---|---|
| Clumpy Powder | Powder added before liquid | Always pour milk/water first to prevent sticking. |
| Too Bitter | Too much cocoa/low quality powder | Add 2-3 drops of liquid stevia or half a date. |
| Separating | Lack of emulsifier/fat | Add a teaspoon of flax meal or more peanut butter. |
Common Mistakes Checklist
- ✓ Using fresh bananas instead of frozen (you'll lose that "milkshake" thickness)
- ✓ Forgetting the salt (the chocolate will taste flat and boring)
- ✓ Adding the ice first (the blades will spin and freeze lock the liquid)
- ✓ Using "natural" PB with too much oil on top (measure carefully to avoid a greasy texture)
Creative Flavor and Diet Variations
If you want to turn this into a more substantial meal, you can easily tweak the profile. For a caffeine kick, replace the 60ml of water with a shot of chilled espresso. It complements the Dutch process cocoa beautifully and turns your morning fuel into a "Mocha Peanut Butter" dream. If you're looking for something even more decadent, you might want to try pairing this with a side of Oatmeal Chocolate Chip Cookies for a high energy snack.
For those on a strict budget, remember that cocoa powder is your best friend. If you buy a cheap, unflavored protein powder in bulk, you can use the Dutch process cocoa and a bit of extra sweetener to mimic the taste of premium brands. If you're in the mood for a different texture entirely, you can actually use these same ingredients to make a base for a Chocolate Pudding Cake by reducing the liquid significantly.
Diet Adaptations
- Vegan: Use a pea/brown rice blend protein and ensure your PB doesn't contain honey.
- Keto: Swap the banana for 1/2 an avocado and add 3 drops of stevia. The avocado provides the same creaminess with healthy fats.
- High Calorie: Add 1/4 cup of rolled oats into the blender. It adds a "cookie dough" flavor and extra complex carbs.
Effective Scaling for Larger Groups
When making shakes for the whole family or a post gym crew, the blender's capacity is your only limit. However, don't just multiply the ice by four if you're making four servings. Ice takes up a lot of volume and can dull the blades' efficiency. Start with 1.5x the ice and see if you need more.
| Method | Best For | Texture | Time |
|---|---|---|---|
| High Speed Blender | Daily Routine | Smooth/Velvety | 5 minutes |
| Individual Bullet | Single Serving | Thicker/Icy | 5 minutes |
| Shaker Bottle | On the Go | Thin/Liquid | 2 minutes |
If you are doubling the recipe, I recommend adding the liquid and powders, blending for 5 seconds to clear space, and then adding the frozen bananas and ice. This prevents the "volcano" effect where dry powder puffs out the top when you start the motor.
Storage Methods and Minimal Waste
Protein shakes are best consumed within 10 minutes of blending. As the ice melts and the banana warms up, the emulsion begins to break, and you'll end up with a layer of foam on top of a watery liquid. If you must save it, store it in an airtight thermos not a plastic shaker.
The vacuum seal will keep the temperature stable for up to 2 hours.
Zero Waste Tip: Don't throw away those brown, mushy bananas! Slice them into "coins," freeze them on a flat tray for an hour, and then toss them into a freezer bag. They are the "gold" of the smoothie world.
Also, when your peanut butter jar is nearly empty, pour your almond milk into the jar, shake it up, and pour that into the blender. You'll get every last gram of that nutty goodness.
Debunking Common Blender Beverage Myths
One of the biggest misconceptions is that you need "special" ice. Standard cubes from a tray are actually better than crushed ice because they stay cold longer during the friction of blending. Another myth is that blending "destroys" the protein. This is scientifically untrue.
The mechanical action of the blades doesn't have the energy required to denature the amino acids in a way that affects your nutrition.
People also think that you can't prep these ahead of time. While you shouldn't blend it ahead of time, you can prep "smoothie packs." Put your banana coins, cocoa, salt, and protein powder into a small bag in the freezer. When you're ready, just dump the bag into the milk and blend.
It saves about 3 minutes of measuring during a busy morning.
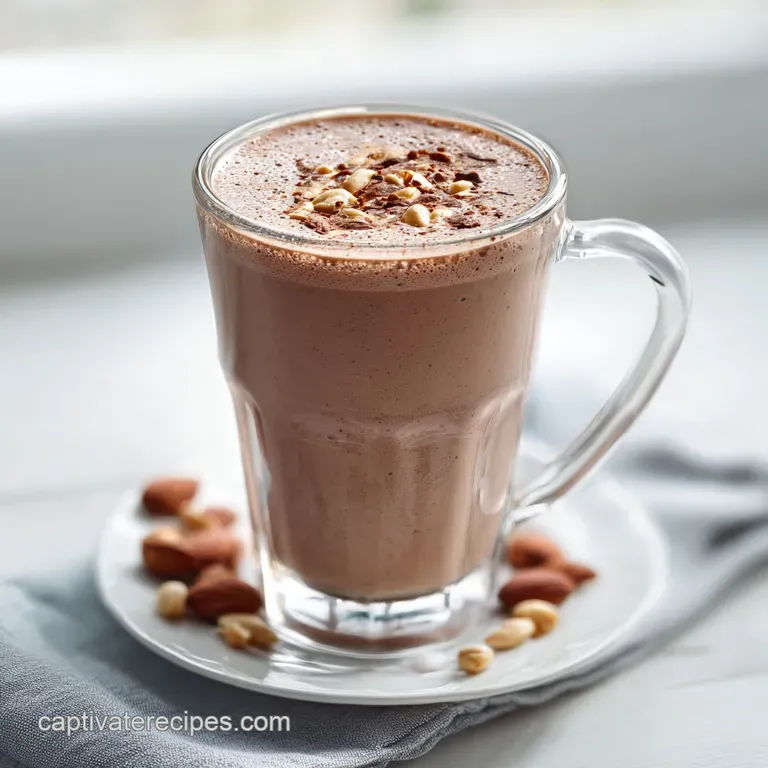
Serving Suggestions and Topping Ideas
Presentation might seem silly for a protein shake, but we eat with our eyes first. Pouring this into a heavy glass and dusting the top with a tiny bit of extra cocoa powder makes it feel like a treat rather than a chore.
If you have the calories to spare, a drizzle of peanut butter around the inside of the glass before pouring creates a beautiful "marbled" look.
For a bit of crunch, top the shake with a spoonful of cacao nibs or crushed peanuts. The contrast between the velvety liquid and the "shatter" of the nibs makes the drink much more satisfying.
If you're drinking this as a dessert, a dollop of Greek yogurt on top can mimic whipped cream while adding a nice probiotic boost.
This Protein Shake Recipe with Chocolate is a foundational tool in any kitchen. It’s fast, budget friendly, and tastes like a reward. Once you master the layering and the salt to chocolate ratio, you'll never go back to those chalky, hand shaken bottles again. Enjoy the fuel!

Recipe FAQs
Why is it necessary to add the liquids to the blender first?
Adding liquid first creates the essential vortex. This motion pulls the protein powder and cocoa down into the blades, ensuring a smooth, clump free consistency without you needing to stop and scrape the sides.
Can I use fresh bananas instead of frozen ones?
No, avoid fresh bananas if you want a thick texture. Frozen banana coins provide the necessary density to mimic a milkshake; if you enjoyed this method of achieving a creamy consistency, see how similar fat and temperature ratios create the perfect texture in our chewy peanut butter treats.
How to fix a shake that tastes flat or bland?
Add the recommended pinch of sea salt. Salt is a flavor enhancer that prevents the chocolate and peanut butter from tasting one-dimensional, effectively brightening the profile of the cocoa powder.
Why does the shake become watery if I store it?
The emulsion breaks as the ice melts and the frozen banana warms up. This happens quickly, which is why the shake is best consumed within 10 minutes of blending to maintain its velvety, ribbon like texture.
How to keep the shake cold if I cannot drink it immediately?
Transfer the mixture into an airtight vacuum sealed thermos. Unlike a standard plastic shaker bottle, a vacuum insulated container stabilizes the temperature, keeping the shake chilled for up to two hours.
Is it true I can use any peanut butter I have in the pantry?
No, this is a common misconception. You must use all-natural creamy peanut butter and measure it carefully; if the jar has too much separated oil on top, it will compromise the emulsion and create a greasy mouthfeel.
How to properly blend the ingredients for the best consistency?
Start on the lowest speed to break up the frozen banana and ice. Once the chunks are incorporated, gradually increase the speed to high to fully emulsify the cocoa and protein until the mixture reaches a velvety, ribbon like state.
Chocolate Peanut Butter Shake

Ingredients:
Instructions:
Nutrition Facts:
| Calories | 310 kcal |
|---|---|
| Protein | 31 g |
| Fat | 13 g |
| Carbs | 25 g |
| Fiber | 5 g |
| Sugar | 8 g |
| Sodium | 210 mg |
