Easy Fluffy Pancake from Scratch with Buttermilk
- Time: Active 10 minutes, Passive 15 minutes, Total 25 minutes
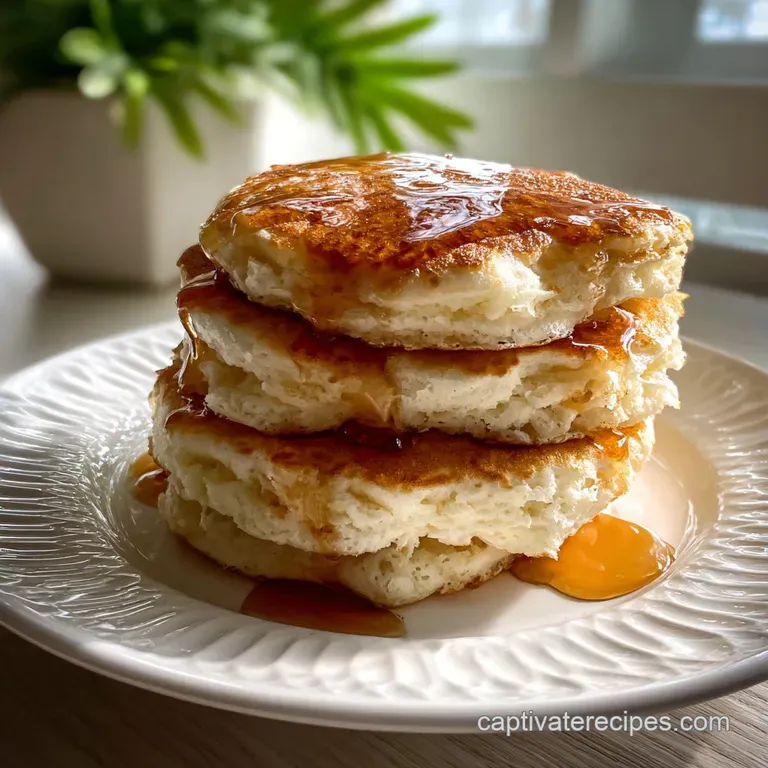
- Flavor/Texture Hook: Tangy, billowy, and buttery with a golden brown lacy crust
- Perfect for: Weekend family breakfast or low cost meal prep
- Easy Fluffy Pancake from Scratch for Beginners with Buttermilk
- Chemistry Secrets for the Ultimate Rise
- Nutrient Density and Component Analysis
- Pantry Staples for Gold Medal Results
- Essential Kitchen Tools for Flat Top Success
- Detailed Guide to Sizzling Golden Batches
- Avoiding Common Pitfalls and Kitchen Blunders
- Budget Savvy Swaps and Flavor Adjustments
- Debunking Morning Kitchen Myths
- Saving Leftovers and Efficient Meal Prep
- Savory and Sweet Morning Sides
- High in Sodium
- Recipe FAQs
- 📝 Recipe Card
Easy Fluffy Pancake from Scratch for Beginners with Buttermilk
There is a specific sound that defines a slow Saturday morning: the sizzle of cold batter hitting a hot, buttery skillet. I remember my first attempt at this breakfast staple. I was so excited that I whisked the batter until it was perfectly smooth, thinking that was the goal.
Instead of billowy clouds, I ended up with tough, rubbery discs that could have doubled as frisbees. It was a classic beginner mistake, but it taught me that the secret to the best texture is actually in the lumps.
This recipe guides beginners to effortlessly create an easy, fluffy buttermilk pancake from scratch. We are moving away from the "just add water" boxes that always taste a bit like cardboard and leaning into real, simple ingredients that you probably already have in your pantry.
You do not need fancy equipment or a culinary degree to master this. All it takes is a bowl, a whisk, and about twenty five minutes of your time.
We are going to focus on the science of the rise and why buttermilk is your best friend in the kitchen. If you have ever wondered why some stacks are flat and sad while others are towering and airy, you are in the right place.
We will walk through the process together, from the first bubble to the final flip, ensuring your kitchen smells like a high end bakery without the high end bill.
Chemistry Secrets for the Ultimate Rise
The Acid Base Lift: When the lactic acid in your 2 cups (480ml) of buttermilk hits the 1 tsp of baking soda, it triggers an immediate release of carbon dioxide bubbles. These bubbles get trapped in the gluten structure, acting like tiny balloons that inflate your breakfast.
Lump Protection: Leaving small lumps in the batter ensures you haven't over developed the gluten. If you stir until smooth, those gluten strands become tight and elastic, turning your pillowy cakes into chewy bread.
The Maillard Sizzle: The 3 tbsp (38g) of granulated sugar does more than sweeten; it reacts with the heat and proteins to create that iconic golden brown exterior. This caramelization provides a slight "shatter" to the edges while keeping the inside velvety.
| Method | Time | Texture | Best For |
|---|---|---|---|
| Classic Skillet | 15 mins | Crispy edges, soft center | Traditional family mornings |
| Electric Griddle | 12 mins | Even browning, consistent lift | Large batches/Big families |
| Sheet Pan Bake | 20 mins | Uniform and cake like | Hands off meal prep |
Choosing the right method depends on how many mouths you have to feed. If you are flying solo, a simple non stick skillet is your best bet for a quick clean up. However, if you have a crowd, an electric griddle set to a steady heat will ensure every single cake comes out exactly like the one before it.
Nutrient Density and Component Analysis
| Ingredient | Science Role | Pro Secret |
|---|---|---|
| Buttermilk | Acidic Hydration | Use full fat for the richest crumb and best lift. |
| Baking Powder | Secondary Leavening | Provides a "second lift" once the batter hits the heat. |
| Melted Butter | Fat & Flavor | Let it cool slightly so it doesn't scramble the eggs. |
Pantry Staples for Gold Medal Results
To get started, gather these specific items. We are keeping things budget friendly, so don't feel like you need the most expensive brands to see success.
- All Purpose Flour (2 cups / 250g): This provides the structural foundation. Why this? AP flour has the right protein balance for a soft yet sturdy structure.
- Granulated Sugar (3 tbsp / 38g): Essential for browning and balance. Why this? It offsets the tang of the buttermilk for a rounded flavor.
- Baking Powder (2 tsp): Your primary lifting agent.
- Baking Soda (1 tsp): Reacts specifically with the buttermilk acid.
- Salt (1/2 tsp): Sharpens all the other flavors.
- Real Buttermilk (2 cups / 480ml): The star of the show. Why this? The thick consistency and acidity are non negotiable for true fluffiness.
- Large Eggs (2): These bind everything together and add richness.
- Unsalted Butter (4 tbsp / 56g): Melted and cooled.
- Pure Vanilla Extract (1 tsp): For that classic "cake like" aroma.
| Original Ingredient | Substitute | Why It Works |
|---|---|---|
| Real Buttermilk | Milk + 1 tbsp Vinegar | Creates acid to react with soda. Note: Slightly thinner batter. |
| Unsalted Butter | Neutral Oil (Canola) | Provides fat for moisture. Note: Lacks the rich buttery aroma. |
| Granulated Sugar | Honey or Maple Syrup | Adds sweetness. Note: May brown faster due to natural sugars. |
Using a substitute like milk and vinegar is a great way to save a trip to the store. Just let the mixture sit for about 10 minutes until it looks slightly curdled before adding it to your dry ingredients. This ensures the chemical reaction is ready to go the moment it hits the flour.
Essential Kitchen Tools for Flat Top Success
You don't need a professional kitchen, but a few specific tools make this "Beginners with Buttermilk" project much easier. A large mixing bowl and a separate medium bowl for your wet ingredients are the bare minimum.
You will also want a sturdy whisk and a wide, thin spatula silicone or metal works best depending on your pan surface.
The most important tool is your cooking surface. A heavy bottomed non stick skillet or a cast iron griddle is the way to go. These hold heat better than thin pans, which prevents the temperature from dropping the second you drop your batter. If you're looking for a sweet treat to pair with your morning coffee later, you might also love this Chewy Chocolate Chip recipe for an afternoon snack.
Detailed Guide to Sizzling Golden Batches
- Whisk dry ingredients. In a large bowl, combine 2 cups (250g) flour, sugar, baking powder, baking soda, and salt. Note: This ensures the leavening agents are evenly distributed so you don't get "salty spots."
- Combine wet ingredients. In your medium bowl, whisk 2 cups (480ml) buttermilk, 2 eggs, 4 tbsp melted butter, and 1 tsp vanilla.
- Merge the mixtures. Pour the wet into the dry. Stir with a spatula until just combined but still lumpy. Note: Stop as soon as you see no more streaks of dry flour.
- Rest the batter. Let it sit for 5 minutes until bubbles begin to form on the surface.
- Preheat your pan. Set your skillet over medium low heat and add a tiny bit of butter. Wait until the butter sizzles and foam subsides.
- Portion the batter. Scoop 1/4 cup of batter onto the pan. Note: Don't overcrowd; cook 2 or 3 at a time max.
- Watch for bubbles. Cook for 2-3 minutes until the edges look dry and bubbles pop and stay open.
- The Golden Flip. Slide your spatula under and flip in one quick motion. Cook until the bottom is golden brown (about 1-2 minutes).
- Keep them warm. Place finished cakes on a wire rack in a 200°F oven. Note: A rack prevents the bottoms from getting soggy with steam.
Avoiding Common Pitfalls and Kitchen Blunders
Why Your Pancakes Are Thin and Heavy
The most frequent culprit is overmixing. When you stir too much, you knock out the carbon dioxide bubbles created by the buttermilk and soda. Think of the batter as a delicate cloud; you want to fold the ingredients together just enough to hydrate the flour, but not so much that you deflate the air.
Another reason could be expired leavening agents. If your baking powder is more than six months old, it loses its "oomph."
Why Your Center Is Raw But Outside Is Burnt
This is a classic heat management issue. If your pan is too hot, the sugar in the batter will caramelize and burn before the heat can penetrate the thick, pillowy center. The goal is a steady, medium low heat. If you see smoke, your pan is way too hot.
Wipe it out, let it cool for a minute, and start again at a lower setting.
| Problem | Root Cause | Solution |
|---|---|---|
| Tough/Chewy | Over developed gluten | Stir until "just" combined; ignore the lumps. |
| No Rise | Dead baking soda/powder | Test your soda in vinegar; if it doesn't fizz, toss it. |
| Greasy Texture | Too much oil/butter in pan | Use a paper towel to wipe most of the fat out before cooking. |
Common Mistakes Checklist
- ✓ Never use a whisk for the final mixing stage; switch to a spatula.
- ✓ Preheat your pan for at least 3 full minutes before the first drop of batter.
- ✓ Don't use a lid; it steams the cakes instead of searing them.
- ✓ Avoid pressing down on the pancake with your spatula after the flip.
- ✓ Only flip once; multiple flips lead to a tough, deflated texture.
Budget Savvy Swaps and Flavor Adjustments
Scaling this recipe is straightforward. If you are cooking for two, you can easily halve the ingredients. Use one large egg and exactly 1 cup of buttermilk. If you are scaling up for a brunch party, you can double everything, but be careful with the salt usually, 1.5 times the salt is enough when doubling a recipe to avoid over seasoning.
Flavor Twists
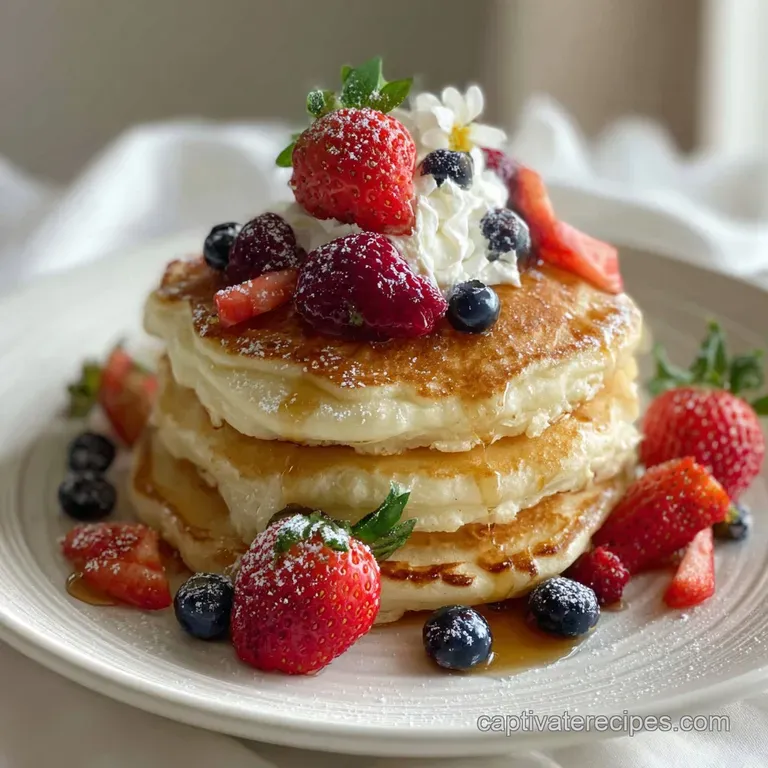
If you want to change things up, try adding a handful of blueberries or chocolate chips. The trick is to sprinkle them onto the wet batter after you’ve scooped it onto the pan, rather than stirring them into the bowl.
This ensures even distribution and prevents the fruit from turning your entire batter purple.
High Protein Adjustments
For a more filling meal, you can swap out half of the all purpose flour for whole wheat flour. It will result in a slightly denser, nuttier cake. If you enjoy pre planned mornings, these Simple Overnight Oats recipe are another great high protein option that saves time during the week.
Debunking Morning Kitchen Myths
Myth: You must have a perfectly smooth batter for "with Buttermilk" recipes. Truth: Lumps are actually tiny pockets of flour that protect the fluffiness. A smooth batter is a sign of overmixing, which leads to a rubbery texture.
Myth: Adding more baking soda will make them even fluffier. Truth: Baking soda is powerful. Too much will leave a metallic, soapy aftertaste and can actually cause the pancakes to collapse if they rise too fast without enough structure.
Saving Leftovers and Efficient Meal Prep
Storage Guidelines You can keep cooked pancakes in the fridge for up to 4 days. Store them in an airtight container with a piece of parchment paper between each one to prevent sticking. For long term storage, these freeze beautifully.
Lay them flat on a baking sheet to freeze for an hour, then toss them into a freezer bag for up to 2 months.
Zero Waste Tips If you have leftover batter that you don't want to cook right away, don't throw it out! You can actually thin it out with a little extra milk and use it as a coating for "pancake fried" sausages or even fruit slices.
If you have extra buttermilk that you won't use before it expires, freeze it in ice cube trays. Each cube is usually about 2 tablespoons, perfect for adding to future batters or even mashed potatoes. To reheat, skip the microwave it makes them rubbery.
Instead, pop them in the toaster on a medium setting for that "just cooked" crispy exterior.
Savory and Sweet Morning Sides
Finding the right balance for your stack is key. While maple syrup is the classic choice, a dollop of Greek yogurt and a sprinkle of lemon zest can provide a fresh contrast to the rich, buttery cakes.
If you are looking for something more substantial, crispy bacon or a side of scrambled eggs creates that perfect salty sweet harmony.
If you are planning a full brunch spread, these pancakes pair beautifully with savory dishes. You might consider serving them alongside a protein heavy main like this Lemon Herb Chicken recipe if you're doing a "brunch for dinner" night. The acidity in the chicken seasoning mirrors the tang in the buttermilk, creating a cohesive meal that feels far more expensive than it actually is.
Decision Shortcut If you want crispy edges, use a cast iron skillet with a generous amount of butter. If you want perfectly uniform color, use an electric griddle set to exactly 375°F.
If you want maximum height, let the batter rest for 10 minutes instead of 5 to fully hydrate the flour.
Mastering this "Easy Fluffy Pancake from Scratch for Beginners with Buttermilk" is all about patience and respecting the chemistry. Once you see that first golden brown flip and taste the airy center, you will never go back to the boxed stuff again. Happy cooking!

High in Sodium
973 mg mg of sodium per serving (42% of daily value)
The American Heart Association recommends limiting sodium intake to no more than 2,300mg per day for most adults.
Tips to Reduce Sodium in this Buttermilk Pancakes Recipe
-
Reduce Added Salt-25%
The most significant sodium source is the ½ tsp of added salt. Reduce it to ¼ tsp, or eliminate it entirely for a noticeable reduction in sodium. Taste the batter before cooking to adjust to your preference.
-
Low-Sodium Baking Powder-15%
Baking powder can contribute to sodium levels. Consider using a low-sodium or sodium free baking powder as a substitute for the regular one. Look for brands specifically labeled as 'low sodium'.
-
DIY Buttermilk-10%
Commercial buttermilk can sometimes contain added sodium. Make your own buttermilk by adding 1 tablespoon of lemon juice or white vinegar to a liquid measuring cup, then adding enough milk to reach the 2 cup line. Let stand for 5 minutes before using. This provides a low-sodium alternative.
-
Flavor Boost
Enhance the flavor of your pancakes with herbs and spices like cinnamon, nutmeg, or lemon zest. These additions can make up for any perceived lack of saltiness.
Recipe FAQs
What is the secret to fluffy pancakes?
Don't overmix the batter. Leaving small lumps is crucial to avoid developing too much gluten, which keeps pancakes tender and pillowy.
Why do my pancakes turn out flat and dense?
You're likely overmixing or your leavening agents are old. Stirring until smooth destroys the air bubbles, and expired baking powder/soda won't create lift.
Can I substitute buttermilk if I don't have any?
Yes, a simple milk and vinegar mixture works. Combine 1 cup of milk with 1 tablespoon of white vinegar or lemon juice and let it sit for 10 minutes to curdle, mimicking buttermilk's acidity.
How should I preheat the pan for pancakes?
Preheat over medium low heat for at least 3 minutes. Wait until a small amount of butter sizzles and the foam subsides to ensure consistent heat for even cooking.
What's the best way to tell when to flip a pancake?
Look for bubbles that pop and stay open. This usually takes 2-3 minutes; the edges should also appear dry before flipping.
How can I keep my cooked pancakes warm without them getting soggy?
Place them on a wire rack in a 200°F oven. This allows air circulation, preventing steam from making the bottoms soggy.
Can I add mix-ins like blueberries or chocolate chips?
Yes, but add them after portioning the batter onto the pan. Sprinkling them on top of the wet batter ensures even distribution and prevents color bleeding.
Easy Fluffy Pancakes

Ingredients:
Instructions:
Nutrition Facts:
| Calories | 449 kcal |
|---|---|
| Protein | 13.8g |
| Fat | 15.5g |
| Carbs | 63.3g |
| Fiber | 1.7g |
| Sugar | 14.8g |
| Sodium | 973mg |
