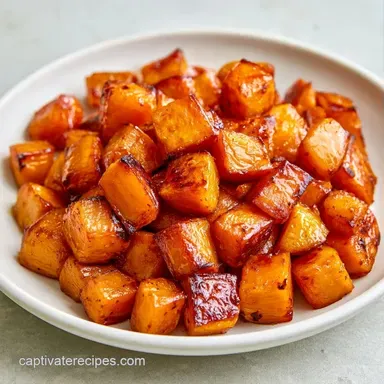
Maple Roasted Butternut Squash: Caramelized
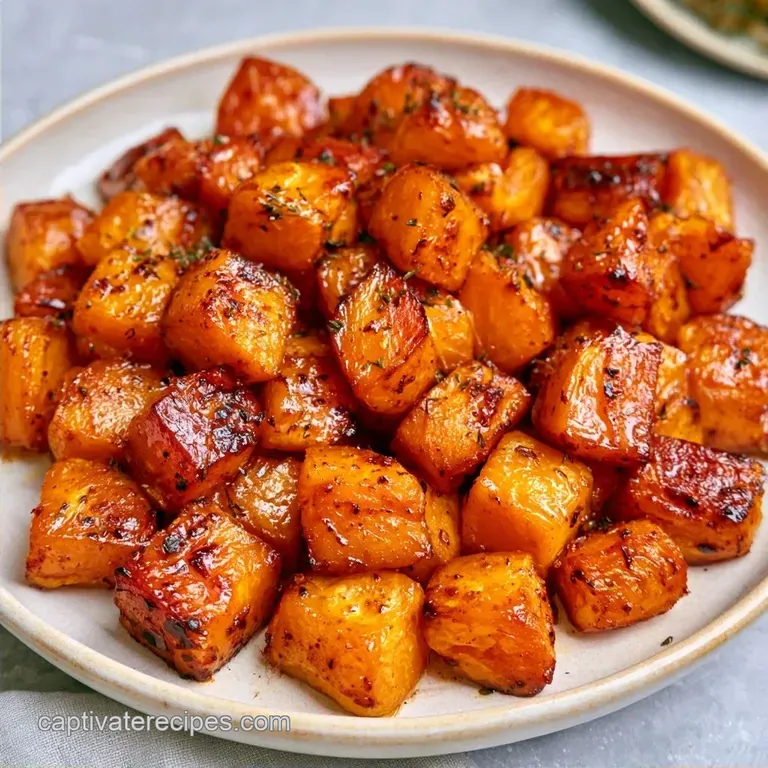
- Time: 10 min active + 25 min roasting
- Flavor/Texture Hook: A balance of sweet and salty with a soft, velvety core
- Perfect for: Simple holiday side dishes or a nutritious weeknight meal
Few things are more disappointing at a dinner party than a tray of pale, mushy squash that tastes like it was simmered in syrup. I've made this mistake before. You remove the pan to find a heap of orange mush rather than the golden, browned cubes you expected.
The culprit is usually a crowded pan. When pieces are packed too closely, they release steam that traps moisture. Rather than roasting, your vegetables end up boiling in their own liquid.
This method for Maple Roasted Butternut Squash solves that issue. By utilizing a precise temperature and a layout that encourages airflow, you'll achieve a tacky, sweet glaze and a center that melts in your mouth.
Why Most Recipes Get This Wrong
Many cooks simply toss everything onto a single sheet and hope for the best. However, since maple syrup is primarily liquid sugar, it reacts consistently to heat. Overcrowding the pan prevents evaporation, leaving the squash pale and the syrup watery.
Conversely, an oven that is too hot will scorch the sugars before the squash can tenderize.
The Space Factor: Ensuring each cube has plenty of "breathing room" allows moisture to escape. Research from Serious Eats on roasting vegetables confirms that proper airflow is the only way to achieve a genuine sear.
The Sugar Threshold: Maple syrup caramelizes rapidly. We found that 400°F is the ideal temperature to brown the edges without making the sugars taste bitter.
For a different flavor profile, you might enjoy my brown sugar butternut squash, which swaps the syrup for a sweetener that offers a richer, molasses-like quality.
| Method | Time | Texture | Best For |
|---|---|---|---|
| Oven Roast | 25 mins | Caramelized edges, tender center | Large batches, meal prep |
| Stovetop | 15 mins | Softer, glazed, less crust | Small portions, quick sides |
Essential Recipe Specs
This is a one pan wonder. You spend ten minutes chopping and tossing, and the oven does the heavy lifting. It's a reliable side that doesn't require you to hover over the stove while your guests are waiting.
The goal here is a balance. We want the sweetness of the maple to play against the salt and a tiny bit of black pepper. It's not a dessert, but it's not a savory vegetable either. It lives right in that cozy, autumn middle ground.
Shopping List Breakdown
Don't bother with the pre cut squash bags if you can avoid it. They're often frozen or treated with preservatives that change the texture. Buy a whole squash, peel it, and cut it yourself. You'll notice the cubes hold their shape much better.
Why These Ingredients Work
| Ingredient | What It Does | Best Swap |
|---|---|---|
| Butternut Squash | Provides the earthy, sweet base | Kabocha squash (richer, nuttier) |
| Pure Maple Syrup | Creates the caramelized glaze | Honey (thicker, more floral) |
| Olive Oil | Conducts heat for browning | Melted butter (adds a savory note) |
Full Ingredient List
- 1 large (1130g) butternut squash, peeled, seeded, and cut into 1 inch cubes Why this? Consistent size ensures everything cooks at once
- 2 tbsp olive oil Why this? High smoke point prevents burning
- 2 tbsp pure maple syrup Why this? Real syrup caramelizes better than "pancake syrup"
- 1/2 tsp kosher salt
- 1/4 tsp ground cinnamon
- 1/4 tsp black pepper
Equipment Needed
This recipe requires only basic equipment. Just a large bowl and a standard baking pan.
- Large Mixing Bowl: Choose one with plenty of space so the squash doesn't spill over the sides while tossing.
- Baking Sheet: A rimmed pan is recommended to keep the maple syrup from dripping into the bottom of your oven.
- Parchment Paper: This is a must. Since maple syrup clings to metal, using parchment makes cleaning up effortless.
- Spatula: Use a silicone or metal version to flip the cubes midway through.
Key Steps
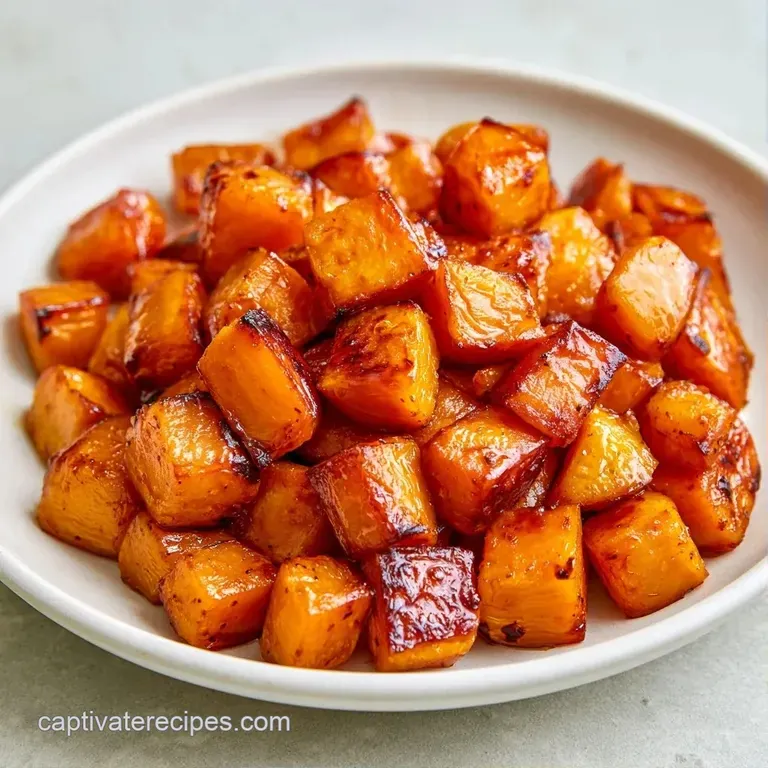
Time to start cooking. The key is the mixing process; ensure every cube is fully covered in the oil and syrup mixture.
1. The Prep & Toss
Set your oven to 400°F (200°C). In a large mixing bowl, combine the cubed squash, olive oil, pure maple syrup, salt, cinnamon, and pepper. Stir well until every piece is evenly coated. Note: Use your hands if the spatula isn't reaching the bottom.
2. The Pan Layout
Line a baking sheet with parchment paper. Arrange the squash in a single layer, making sure the pieces aren't touching. Note: If the tray is too small, use two. Crowding leads to steaming instead of roasting.
3. The First Roast
Place the pan on the center rack. Roast for 12-13 minutes, until the edges just begin to soften.
4. The Flip
Take the pan out and flip the pieces with a spatula. This ensures the side touching the parchment also gets to brown.
5. The Final Brown
Return the tray to the oven for another 12-13 minutes, until the edges reach a mahogany hue and the centers are tender.
6. The Set
Remove from the oven. Let the squash rest on the pan for 5 minutes. Note: This allows the glaze to thicken and cling to the squash rather than pooling on the paper.
Troubleshooting Guide
Even straightforward recipes can run into issues, often stemming from incorrect pan size or oven temperature.
Fixing Steamed Squash
If your Maple Roasted Butternut Squash appears pale and feels damp, the pieces were probably too crowded. This prevents moisture from escaping, causing the vegetables to steam rather than roast. In the future, split the squash between two pans.
To rescue your current batch, increase the oven to 425°F for 5 minutes to evaporate the extra moisture.
Managing Burnt Syrup
Maple syrup transitions from golden to charred very quickly. If the edges are burning before the centers soften, your oven might be running too hot. Try moving the pan to a lower rack or covering it loosely with aluminum foil.
Handling Uneven Cooking
When some cubes are soft and others remain firm, it is usually due to inconsistent chopping. Aim to keep all pieces as close to 1 inch as possible. If you have already started roasting, simply shift the smaller pieces toward the edges of the pan.
| Problem | Root Cause | Solution |
|---|---|---|
| Squash is soggy | Pan was overcrowded | Use two pans; ensure space between cubes |
| Burnt edges | Oven temp too high | Lower temp by 25°F or move pan lower |
| Centers are hard | Cubes too large | Cut into uniform 1 inch pieces |
Perfect Complements
Because this dish is quite sweet, it pairs best with salty or acidic flavors to achieve balance. It also works wonderfully alongside a lean protein.
To add more depth, try drizzling a brown butter sage sauce over the top just before serving. The nutty quality of the butter provides a lovely contrast to the maple syrup.
When putting together a full meal, consider adding roasted Brussels sprouts or a crisp apple salad. The acidity from a vinaigrette ensures the plate doesn't feel overly heavy.
Storage & Reheating
Store any remaining portions in a tightly closed container for around 4 days. While the squash will soften as it absorbs the glaze, you will lose some of that initial crunch.
For the best results when reheating, steer clear of the microwave, as it often leaves the squash rubbery. Instead, use an oven or air fryer set to 350°F for 5-8 minutes to restore those caramelized edges.
To minimize waste, save the squash seeds. Simply wash them, pat them dry, and roast them with a touch of oil and salt. This creates a delicious snack and ensures no part of the vegetable is wasted.
Flavor Variations to Try
Once you've got the base method down, you can switch up the toppings to change the vibe of the meal.
The Harvest Twist
Toss in a handful of dried cranberries and chopped pecans during the last 5 minutes of roasting. The pecans get toasted, and the cranberries plump up from the heat.
The Savory Pop
After the squash comes out of the oven, crumble some salty feta cheese over the top. The contrast between the cold, tangy cheese and the hot, sweet squash is brilliant.
The Winter Mix
Replace the cinnamon with a pinch of ground cloves or nutmeg. It gives the dish a deeper, more traditional holiday aroma.
The Whole Roast
If you don't want to cube the squash, slice it in half lengthwise. Brush the flesh with the maple mixture and roast for 45-60 minutes at 400°F. Just be sure to check the center with a knife to ensure it's tender.
Decision Shortcut
- For a saltier finish: Add feta cheese after roasting.
- For more crunch: Add pecans for the last 5 minutes.
- For a deeper flavor: Swap cinnamon for nutmeg.
Final Thoughts on Roasting
Making a great Maple Roasted Butternut Squash doesn't require a professional kitchen, just a bit of patience with the pan layout. Keep the cubes separated, watch the color, and let it rest.
If you're curious about the nutrition, you can check the USDA FoodData Central for specific butternut squash profiles. It's a great way to see how the fiber and vitamins stack up. Trust me on this: the effort of peeling the squash yourself is worth it for the texture you get in the end. Now, get that oven preheated and enjoy.
Recipe FAQs
At what temperature should I roast butternut squash?
400°F (200°C) is the ideal setting. This heat ensures the edges brown quickly while the interior becomes tender.
How to ensure the squash gets caramelized edges?
Spread the cubes in a single layer without touching. Overcrowding the pan creates steam, which prevents the mahogany-colored edges from forming.
Which spices pair best with this maple version?
Cinnamon, salt, and black pepper. These ingredients balance the sweetness of the maple syrup and the natural earthiness of the squash.
Is it true that roasting squash requires a specific pan type?
No, this is a common misconception. Any standard sheet pan works as long as you line it with parchment paper to prevent sticking.
What oil should be used for roasting?
Olive oil is the best choice. It handles the heat of the oven well and complements the cinnamon and syrup glaze.
What is the best way to reheat leftovers?
Place them in an oven or air fryer at 350°F for 5-8 minutes. This restores the crisp texture that is often lost during storage.
Can I serve this with a side of bread?
Yes, it pairs excellently with warm bread. If you enjoy making a quick flatbread dough, it makes a great accompaniment to this sweet side dish.
Should the skin stay on during roasting?
Surprisingly, no. The official method requires peeling and seeding the squash to ensure a consistent, tender texture.
Maple Roasted Butternut Squash in 35 Min