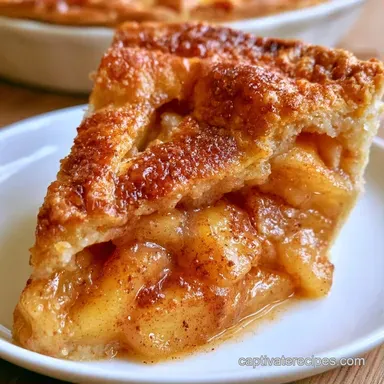
Easy Apple Pie with Fresh Apples
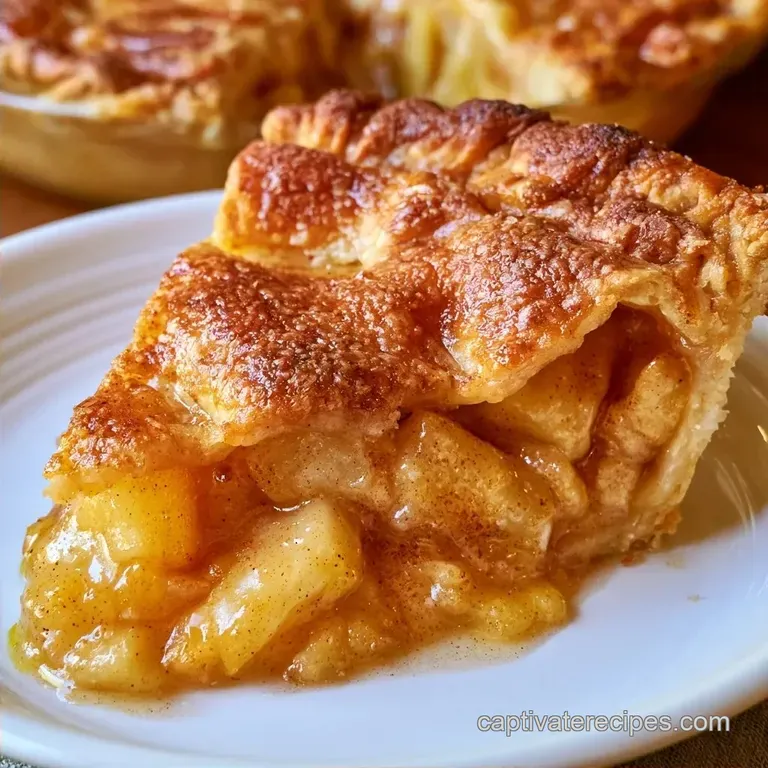
- Time: 30 min active + 60 min baking
- Flavor/Texture Hook: Crisp, flaky crust with cinnamon spiced, tender apples
- Perfect for: Holiday dinners, Sunday treats, or beginner bakers
Ever wonder why some pies have that jammy center while others are just watery apple soup? I used to struggle with that every single autumn. I'd pull a pie out of the oven, cut a slice, and watch the filling slide right off the plate like a landslide.
It was frustrating, especially when the crust looked great but the inside was a mess.
The trick is in how the apples release their juice and how we catch it. This Easy Apple Pie is my go to because it skips the stressful dough making but keeps the old school flavor. You get that mahogany colored top and a filling that actually stays put.
I'm sharing the exact steps that stopped my "apple soup" phase. We're focusing on the contrast between the crisp edges and the soft, spiced center. It's an accessible way to get a showstopper on the table without the panic.
The Best Easy Apple Pie Recipe
Check the basics before we get started. This recipe yields a single 9 inch pie, providing 8 generous slices.
| Goal | What to change |
|---|---|
| Tarter flavor | Use 100% Granny Smith apples |
| Extra spice | Add 1/2 tsp ground ginger |
| Softer crust | Brush with melted butter after baking |
To understand the advantages of this shortcut, here is how it compares to the classic approach.
| Feature | This Easy Version | Traditional Method |
|---|---|---|
| Crust Prep | 2 minutes (unrolled) | 45 minutes (chilled) |
| Total Time | 90 minutes | 3+ hours |
| Texture | Consistent, flaky | Variable, artisanal |
| Best For | Quick hosting | Slow weekend baking |
Ingredients You'll Need
I've found that using a mix of apples is the way to go. Granny Smiths keep their shape, while something like Honeycrisp adds a natural sweetness.
| Component | Purpose | Substitute Notes |
|---|---|---|
| Fresh Apples (6 cups) | Main body and structure | Use Braeburn or Fuji for a sweeter profile |
| Cornstarch (2 tbsp) | Thickens the juices | All purpose flour works but is less clear |
| Unsalted Butter (2 tbsp) | Adds richness to the top | Coconut oil for a dairy-free option |
| ready-made Crusts (1 pkg) | Quick, flaky exterior | Homemade pie dough if you have time |
The Full List: 6 cups (approx. 3 lbs) Fresh Apples, peeled and sliced Why this? A mix of tart and sweet prevents mushiness 3/4 cup (150g) Granulated Sugar 2 tbsp (16g) Cornstarch 1 tbsp (8g) Ground Cinnamon 1/4 tsp (1.5g) Ground Nutmeg 1/4 tsp (1.5g) Salt 2 tbsp (28g) Unsalted Butter, chilled and cubed Why this? Creates little pockets of flavor in the filling 1 package (14.1 oz) ready-made refrigerated pie crusts 1 large Egg 1 tbsp (15ml) Water 1 tbsp (8g) Coarse Sugar
Essential Kitchen Tools
Standard kitchen equipment is all that's required here.
- 9 inch pie dish (glass or ceramic)
- Large mixing bowl
- Baking sheet (to catch any drips)
- Pastry brush
- Peeler and sharp knife
Quick Tip: Lacking a pastry brush? Use the back of a spoon to apply the egg wash to the crust for the same result.
Putting the Pie Together
Time to start. The secret is ensuring the butter stays chilled until the very last moment.
1. Preparing the Base
Set your oven to 425°F (218°C). Lightly grease a 9 inch pie dish. Roll out the first Easy Apple Pie Crust and press it firmly into the bottom and sides, leaving a small overhang. Place the dish on a baking sheet for easier handling.
2. Mixing the Filling
In a large bowl, combine the apple slices with the sugar, cornstarch, cinnamon, nutmeg, and salt. Stir until every piece of apple is well coated. Pour the Easy Apple Pie Filling into the crust. Mound the apples slightly in the center, then dot the top with the cold butter cubes.
3. Sealing the Top
Roll out the second piece of crust. Drape it over the apples and cut 4-5 slits in the middle to allow steam to release. Trim any excess dough and pinch the edges with your fingers or a fork to seal in the juices.
4. The Golden Finish
Mix the egg and water together. Brush this wash over the top crust. Scatter the coarse sugar evenly across the surface for a bit of sparkle and crunch.
5. The Bake
Bake for 45–55 minutes until the pastry is deeply browned and the filling bubbles out of the slits. Allow it to cool for at least 30 minutes before slicing. While difficult to wait, this ensures the filling sets properly.
Troubleshooting Common Pie Issues
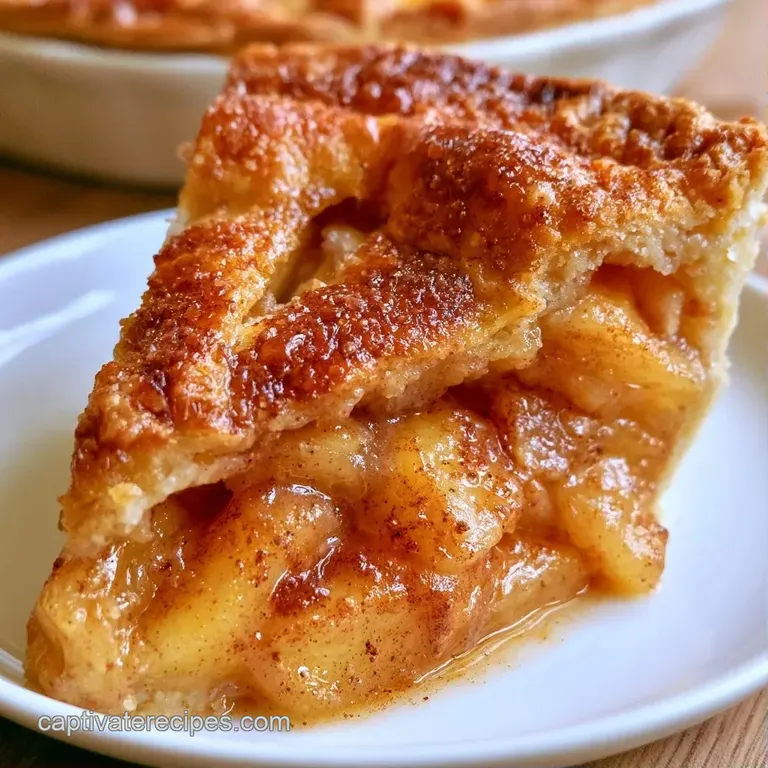
Everyone encounters a few hiccups. Here is how to troubleshoot the most common problems.
Avoiding a Soggy Base
A damp bottom crust occurs when juices pool at the bottom. To prevent this, always bake your pie on a preheated baking sheet. This delivers an immediate burst of heat to the base, setting the crust before the apples release excessive liquid.
Preventing Overbrowned Edges
The outer rim of the crust often browns more quickly than the middle. If you see them darkening around the 30 minute mark, loosely cover the perimeter with strips of aluminum foil. This protects the dough without interfering with the cooking of the center.
Managing Runny Filling
If your pie remains too liquid after it has cooled, it is usually a result of the apple variety. Some apples are simply juicier than others. Next time, incorporate an additional teaspoon of cornstarch or pre-cook the apples for 5 minutes on the stovetop to reduce the moisture.
Fun Flavor Variations
After mastering the Easy Apple Pie, feel free to experiment with the flavors. I enjoy giving the filling a personal touch.
- The Maple Version
- Replace half of the sugar with maple syrup and stir in a pinch of ground cloves.
- The Nutty Crunch
- Layer crushed pecans or walnuts over the filling before adding the top crust.
- The Berry Blend
- Mix in a handful of fresh blueberries or blackberries for a vibrant, tangy contrast.
For another fruit centric treat, my peach cobbler recipe is a wonderful alternative that features a similar spice profile.
Storage and Zero Waste
Make sure every slice is enjoyed. This pie stays fresh longer than you'd expect if stored correctly.
Storage Guidelines:Fridge: Store slices in a sealed container for up to 4 days. Freezer: Wrap unbaked pies in plastic wrap and foil for 3 months; thaw them in the refrigerator overnight before baking. For pies already baked, use an airtight container for 2 months. For the best results, follow this tutorial on how to freeze and bake a frozen pie.
Zero Waste Tips: Save those apple cores and peels! Collect them in a freezer safe bag. When you have gathered enough, simmer the scraps with water, a cinnamon stick, and a few cloves to create a fragrant apple syrup perfect for pancakes.
Best Serving Pairs
The rich combination of butter and sugar benefits from a touch of contrast. While vanilla ice cream is the traditional pairing, I prefer a dollop of unsweetened whipped cream to help the cinnamon flavors stand out.
This dessert is an excellent follow-up to a savory main course. If you are bringing it to a potluck, it pairs wonderfully with a southern potato salad for a satisfying sweet and salty combination.
- 1. Fresh Mint
- A tiny sprig atop each slice provides a vibrant pop of green.
- 2. Raspberry Coulis
- A swirl of bright red sauce around the plate.
- 3. Dusting of Powdered Sugar
- A light, snowy coating across the golden crust.
Why This Recipe Works
There's no magic involved, just a few strategic steps. Here is why this Simple Apple Pie consistently turns out great.
- The Apple Blend: Combining sweet and tart varieties creates a layered flavor profile and prevents the filling from becoming mushy.
- The Starch Ratio: Cornstarch mixes with the sugar and juices to produce a thick, jam-like texture that keeps the slices intact.
- High Starting Temp: Beginning at 425°F seals the pastry quickly, stopping the filling from leaking into the crust.
Adjusting the Portions
Whether you're cooking for a group or just yourself, you can modify the size.
Scaling Down (Half Recipe): Use a 6 inch pan and cut the bake time by roughly 20%. Opt for a single crust if you prefer a galette style.
Scaling Up (Double Recipe): Work in batches. Avoid stuffing twice the fruit into one pan, as the center won't cook through. Bake two separate pies on different racks, swapping their positions halfway through for a uniform golden brown.
Busting Pie Misconceptions
"The dough requires hours of chilling." While necessary for from scratch butter crusts, store-bought refrigerated doughs are designed for stability. Just leave them at room temperature for 5 minutes to prevent cracking during rolling.
"More apples make a superior pie." In reality, overfilling creates a "dome" effect where the edges burn while the middle remains raw. Stick to the 6 cup limit so the heat penetrates the center.
You're all set. Just be sure to let your Simple Apple Pie cool before slicing, otherwise you'll end up with "apple soup" all over again. Trust me on this. Happy baking!
Recipe FAQs
How to make a quick and easy apple pie?
Toss sliced apples with sugar, cornstarch, and spices, then bake in ready-made crusts at 425°F.
Tip: Use a baking sheet under your pie dish to catch any drips.
Is it true that you must cook apples before putting them in a pie?
Surprisingly, no. The 45-55 minute bake time at 425°F softens them perfectly.
Tip: Slice apples consistently so they cook evenly.
What is the secret to a good apple pie?
Using cornstarch to thicken the juices prevents a soggy bottom.
Tip: If you enjoyed mastering texture here, see how the same principle works in our no yeast flatbread.
Can I use ready-made pastry for a simple pie?
Refrigerated pie crusts work perfectly for this recipe.
Tip: Keep the dough chilled until the moment you roll it out.
Which few ingredients make this pie easy?
Apples, sugar, cornstarch, cinnamon, nutmeg, salt, butter, and store-bought crusts.
Tip: Coarse sugar on top adds a professional looking crunch.
Ways to prevent the crust from burning?
Brush the top with an egg wash and bake for exactly 45-55 minutes.
Tip: Rotate your pan halfway through for a more even golden brown.
Does this pie freeze well?
Wrap the unbaked pie in plastic and foil for up to 3 months.
Tip: Thaw it in the refrigerator overnight before putting it in the oven.
Must the crust be homemade to be flaky?
This one's false: high-quality refrigerated crusts provide a consistent, flaky texture with less effort.
Tip: Crimp the edges firmly to seal the filling and prevent leaks.
Easy Apple Pie